> ## Documentation Index
> Fetch the complete documentation index at: https://docs.presenton.ai/llms.txt
> Use this file to discover all available pages before exploring further.

# Generation workflow

> Create a presentation in Presenton Cloud or a self-hosted open-source instance.

Use this guide to choose the right creation path, confirm the required inputs, and move from a prompt or file to a generated presentation.

<Note>
  Presenton has two user flows: **Cloud** for the hosted app, and **Open-source** for a self-hosted instance. The screens are similar, but Cloud also includes dashboard actions for importing PPTX files and using the API Playground.
</Note>

<Tabs>
  <Tab title="Cloud">
    ## 1. Sign in

    Open Presenton Cloud and sign in with your account.

    <Frame caption="Presenton Cloud login screen">
      <img src="https://mintcdn.com/presenton-521d9e2f/isevrd3o6JPIkznF/images/user-guide/creating-presentations/generation-workflow/cloud-login-live.png?fit=max&auto=format&n=isevrd3o6JPIkznF&q=85&s=be2db2752c49ed82af48a5ccabe4a16b" alt="Presenton Cloud login screen" width="1440" height="1000" data-path="images/user-guide/creating-presentations/generation-workflow/cloud-login-live.png" />
    </Frame>

    ## 2. Choose a dashboard action

    After login, the dashboard shows the available creation actions.
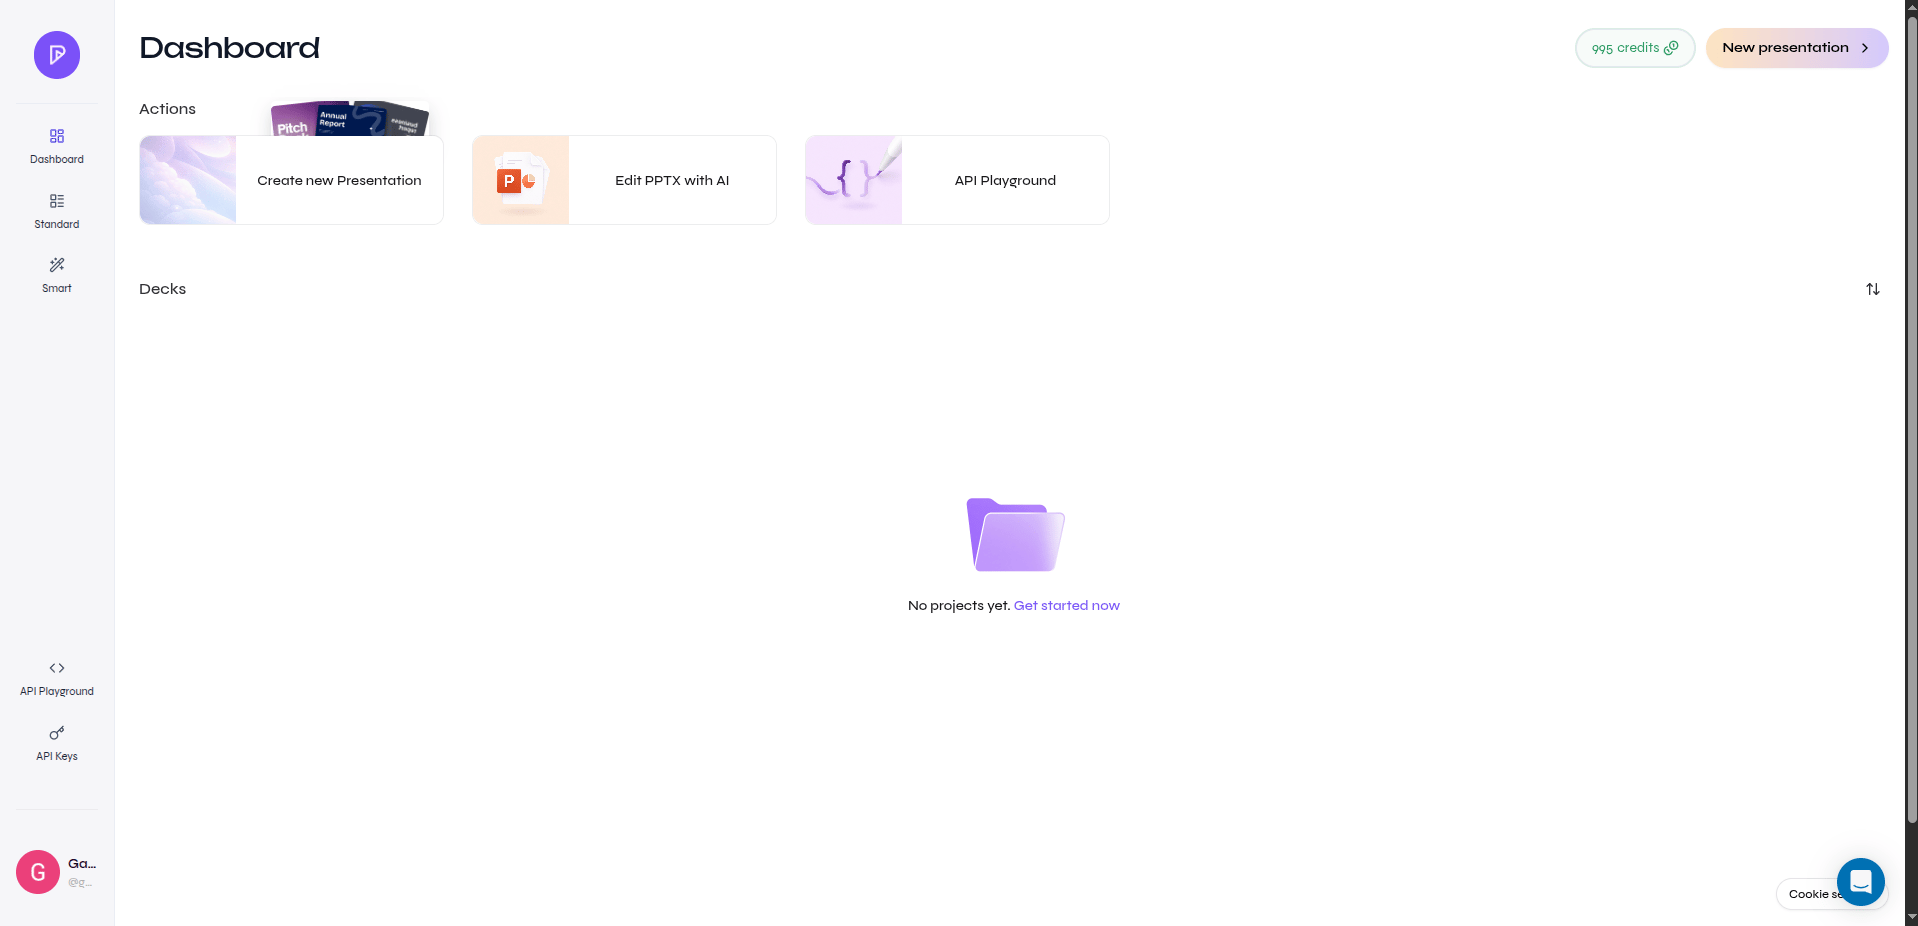
    <Frame caption="Presenton Cloud dashboard actions">
      <img src="https://mintcdn.com/presenton-521d9e2f/isevrd3o6JPIkznF/images/user-guide/creating-presentations/generation-workflow/cloud-dashboard.png?fit=max&auto=format&n=isevrd3o6JPIkznF&q=85&s=caedcd10c5837760c1a8c48f0f6a3d56" alt="Presenton Cloud dashboard with Create new Presentation, Edit PPTX with AI, and API Playground actions" width="1918" height="926" data-path="images/user-guide/creating-presentations/generation-workflow/cloud-dashboard.png" />
    </Frame>

    <CardGroup cols={3}>
      <Card title="Create new Presentation" icon="sparkles">
        Start a new deck from a prompt and optional source files.
      </Card>

      <Card title="Edit PPTX with AI" icon="file-powerpoint">
        Upload an existing PPTX and make it editable in Presenton.
      </Card>

      <Card title="API Playground" icon="code">
        Test presentation generation settings before using the API.
      </Card>
    </CardGroup>

    ## 3. Create new Presentation

    Use this path when you want Presenton to generate a new deck from a prompt, document, or other supported source material.

    <Steps>
      <Step title="Open the generator">
        Select **Create new Presentation** from the dashboard, or open `/generate`.

        <Frame caption="Create new Presentation page">
          <img src="https://mintcdn.com/presenton-521d9e2f/isevrd3o6JPIkznF/images/user-guide/creating-presentations/generation-workflow/cloud-create-new-presentation.png?fit=max&auto=format&n=isevrd3o6JPIkznF&q=85&s=1b48cc033d3bb55817e19cf10cc6dc0a" alt="Create new Presentation page in Presenton Cloud" width="1918" height="926" data-path="images/user-guide/creating-presentations/generation-workflow/cloud-create-new-presentation.png" />
        </Frame>
      </Step>

      <Step title="Choose Standard or Smart mode">
        Choose the generation mode before starting. **Standard** uses a fixed layout flow. **Smart** is shown as the flexible layout option in the product UI.
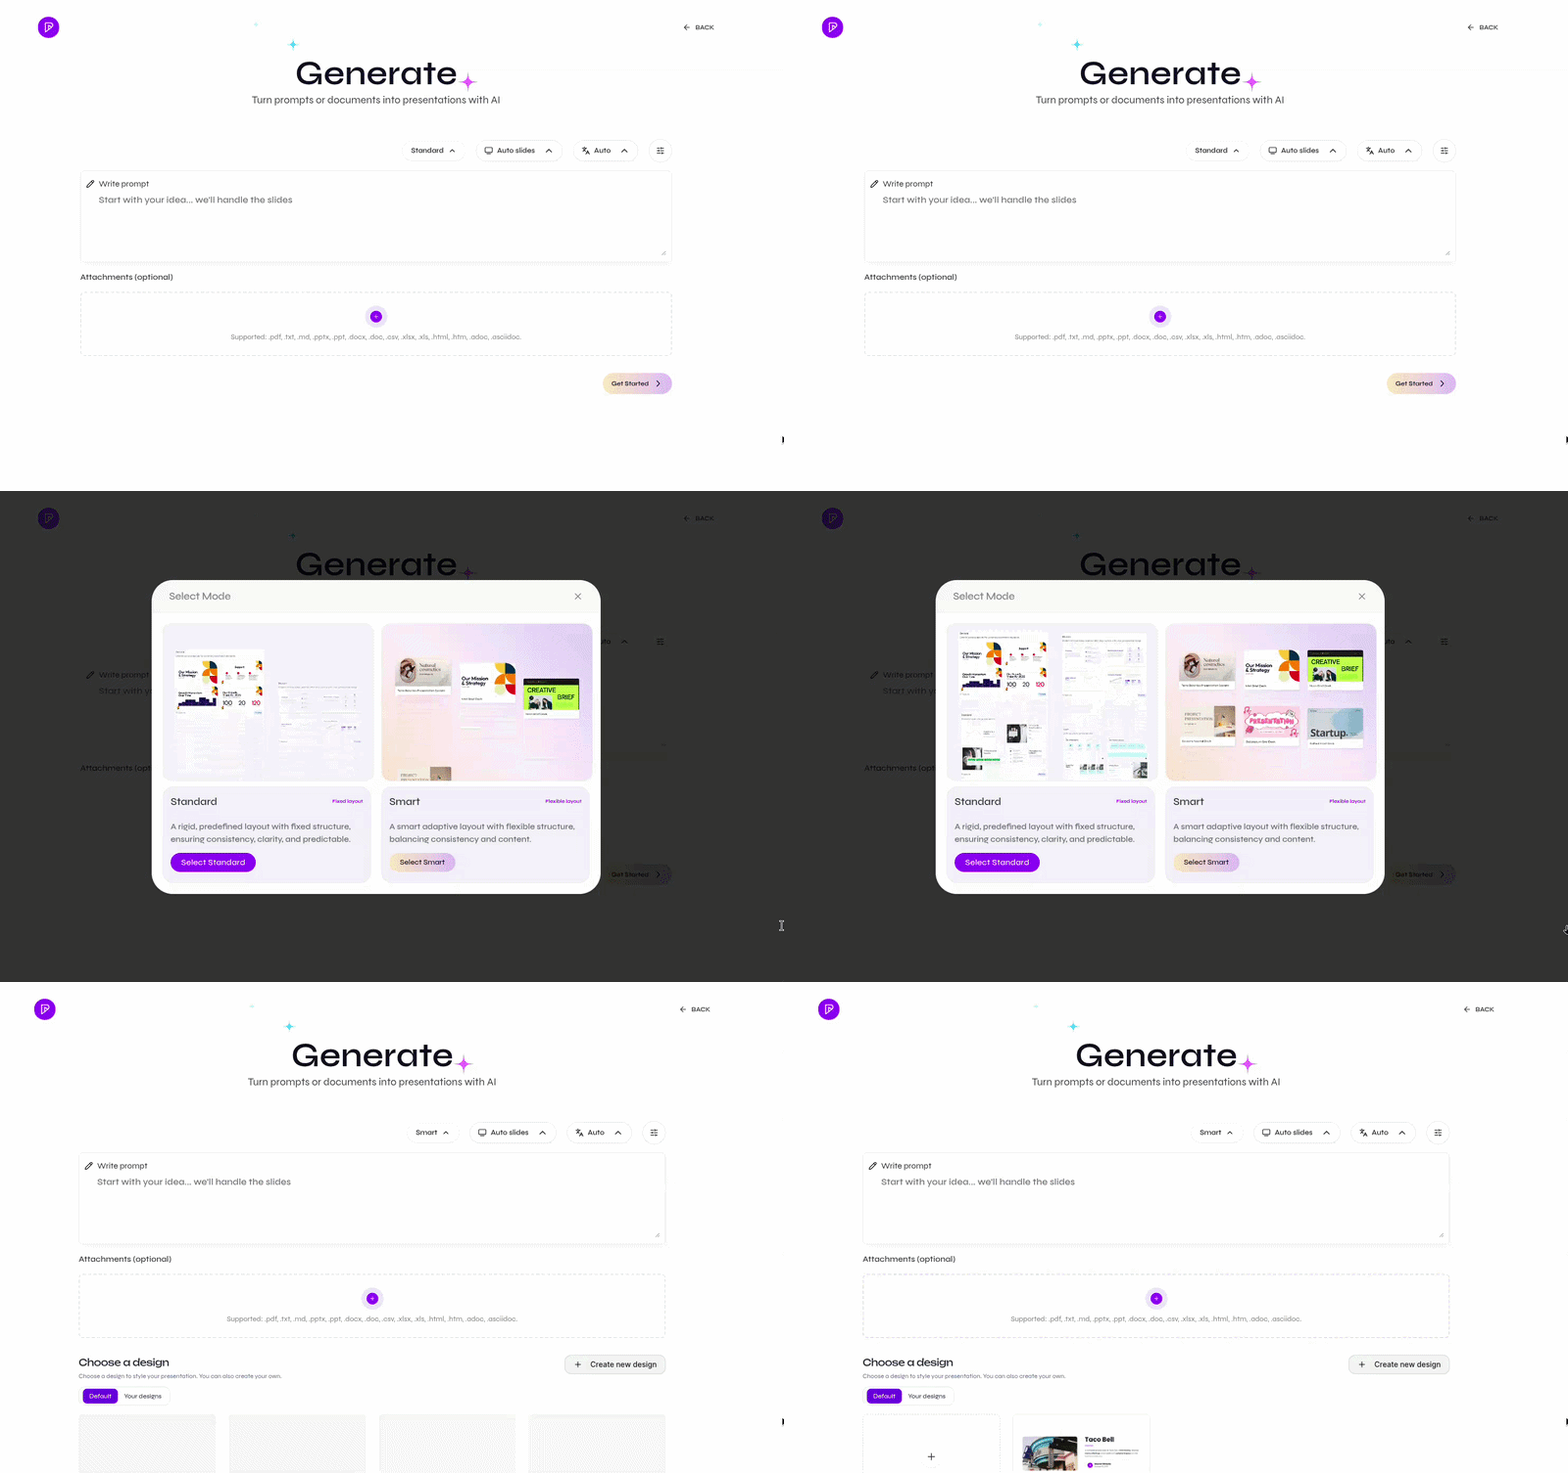
        <Frame caption="Standard and Smart mode selection">
          <img src="https://mintcdn.com/presenton-521d9e2f/isevrd3o6JPIkznF/images/user-guide/creating-presentations/generation-workflow/cloud-mode-standard-smart.gif?s=460ba27e7fc29af1c687b1a57c40003f" alt="Selecting Standard and Smart presentation modes" width="800" height="502" data-path="images/user-guide/creating-presentations/generation-workflow/cloud-mode-standard-smart.gif" />
        </Frame>
      </Step>

      <Step title="Set the slide count">
        Use the slide number control to select the target deck length.

        <Frame caption="Slides number control">
          <img src="https://mintcdn.com/presenton-521d9e2f/isevrd3o6JPIkznF/images/user-guide/creating-presentations/generation-workflow/slides-number.png?fit=max&auto=format&n=isevrd3o6JPIkznF&q=85&s=a443e6b996d18659bedcca04aa35b788" alt="Slides number control in the presentation generator" width="1918" height="926" data-path="images/user-guide/creating-presentations/generation-workflow/slides-number.png" />
        </Frame>
      </Step>

      <Step title="Select the language">
        Choose the language for the generated presentation.

        <Frame caption="Language control">
          <img src="https://mintcdn.com/presenton-521d9e2f/isevrd3o6JPIkznF/images/user-guide/creating-presentations/generation-workflow/language.png?fit=max&auto=format&n=isevrd3o6JPIkznF&q=85&s=2e8631ad8cb73fc19d43e6d39ec435f6" alt="Language control in the presentation generator" width="1918" height="926" data-path="images/user-guide/creating-presentations/generation-workflow/language.png" />
        </Frame>
      </Step>

      <Step title="Review advanced settings">
        Open the advanced settings control when you need to adjust generation options before starting.

        <Frame caption="Advanced settings controls">
          <img src="https://mintcdn.com/presenton-521d9e2f/isevrd3o6JPIkznF/images/user-guide/creating-presentations/generation-workflow/advanced-setting.png?fit=max&auto=format&n=isevrd3o6JPIkznF&q=85&s=372fb3ec268290f2836b3ae15a640eae" alt="Advanced settings controls in the presentation generator" width="1918" height="926" data-path="images/user-guide/creating-presentations/generation-workflow/advanced-setting.png" />
        </Frame>
      </Step>
    </Steps>

    ## 4. Edit PPTX with AI

    Use this path when you already have a PPTX file and want to convert it into an editable Presenton presentation.

    <Frame caption="Edit PPTX with AI import screen">
      <img src="https://mintcdn.com/presenton-521d9e2f/isevrd3o6JPIkznF/images/user-guide/creating-presentations/generation-workflow/cloud-edit-pptx-ai.png?fit=max&auto=format&n=isevrd3o6JPIkznF&q=85&s=55511f9bb6e15a62924d874e15e83398" alt="Edit PPTX with AI import screen" width="1918" height="926" data-path="images/user-guide/creating-presentations/generation-workflow/cloud-edit-pptx-ai.png" />
    </Frame>

    ## 5. API Playground

    Use the API Playground to test prompt, slide count, language, export, and generation settings before building an API workflow.

    <Frame caption="API Playground">
      <img src="https://mintcdn.com/presenton-521d9e2f/isevrd3o6JPIkznF/images/user-guide/creating-presentations/generation-workflow/cloud-api-playground.png?fit=max&auto=format&n=isevrd3o6JPIkznF&q=85&s=f9bcd73b0e7fc0641b353f8a989a6ffa" alt="Presenton Cloud API Playground" width="1918" height="926" data-path="images/user-guide/creating-presentations/generation-workflow/cloud-api-playground.png" />
    </Frame>

    ## Video walkthrough

    The walkthrough shows the creation flow and theme/template areas in context.

    <Frame caption="Generation workflow tutorial video">
      <video className="doc-video" controls preload="metadata" src="https://mintlify.s3.us-west-1.amazonaws.com/presenton-521d9e2f/images/welcomevideo/toutrialvideosuraj.mp4">
        Your browser does not support the video tag.
      </video>
    </Frame>
  </Tab>

  <Tab title="Open-source">
    ## 1. Sign in to the instance

    Open the self-hosted Presenton URL and enter the instance credentials configured by the deployment owner.
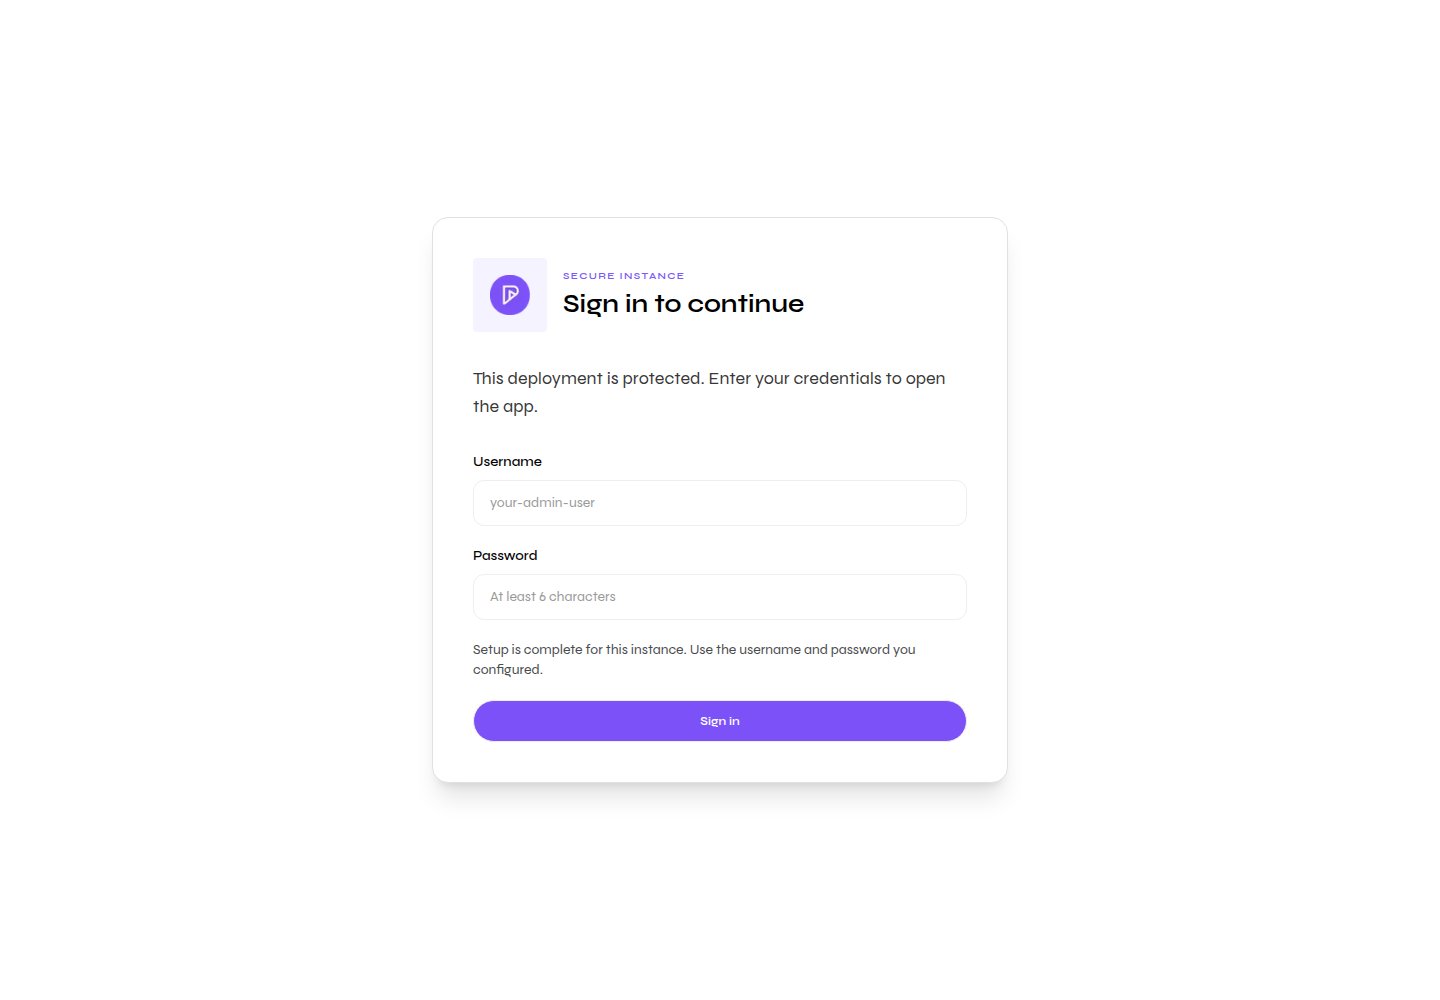
    <Frame caption="Open-source instance login screen">
      <img src="https://mintcdn.com/presenton-521d9e2f/isevrd3o6JPIkznF/images/user-guide/creating-presentations/generation-workflow/open-source-login-live.png?fit=max&auto=format&n=isevrd3o6JPIkznF&q=85&s=1ed7076709d3ddad54ce23a13fec907b" alt="Open-source instance login screen" width="1440" height="1000" data-path="images/user-guide/creating-presentations/generation-workflow/open-source-login-live.png" />
    </Frame>

    ## 2. Start from the Generate page

    After login, the open-source instance opens the Generate page. This is the main creation screen for prompts and source files.
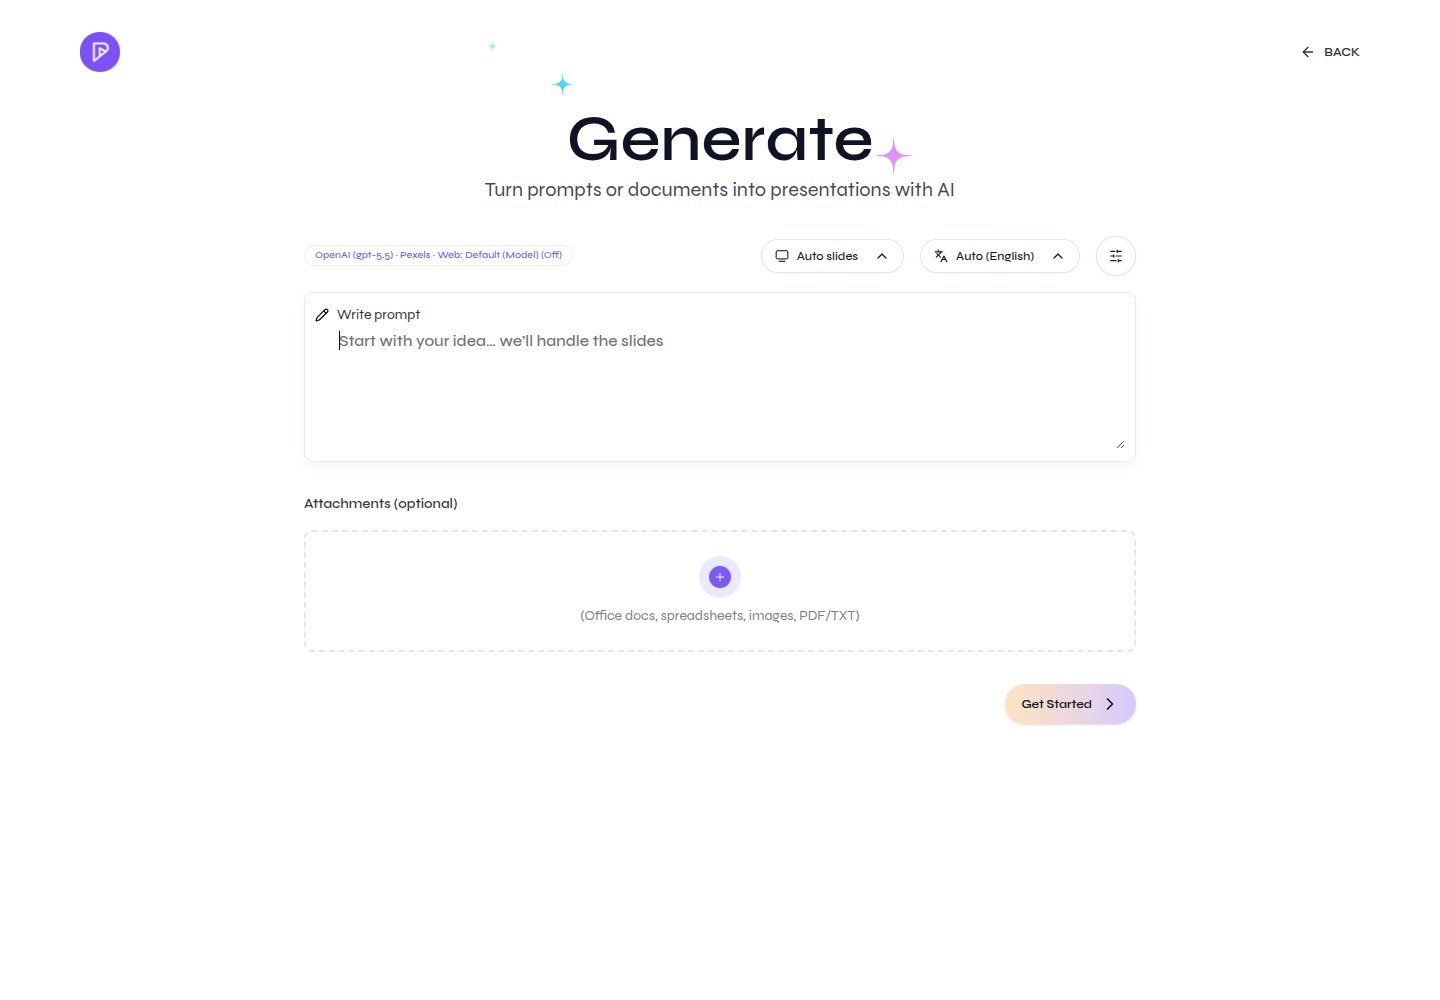
    <Frame caption="Open-source Generate page">
      <img src="https://mintcdn.com/presenton-521d9e2f/isevrd3o6JPIkznF/images/user-guide/creating-presentations/generation-workflow/open-source-dashboard-live.png?fit=max&auto=format&n=isevrd3o6JPIkznF&q=85&s=0cf9e1b512e84d01ea44db687a275d34" alt="Open-source Generate page with prompt, attachments, slide count, language, and settings controls" width="1440" height="1000" data-path="images/user-guide/creating-presentations/generation-workflow/open-source-dashboard-live.png" />
    </Frame>

    ## 3. Add prompt or source material

    Type the instruction for the deck in the prompt area. Add optional source files in the attachments area when the presentation should be grounded in documents, spreadsheets, images, PDFs, or text files.

    ## 4. Set generation controls

    Choose the slide count, language, and advanced settings before starting generation.

    <Frame caption="Slides number control">
      <img src="https://mintcdn.com/presenton-521d9e2f/isevrd3o6JPIkznF/images/user-guide/creating-presentations/generation-workflow/slides-number.png?fit=max&auto=format&n=isevrd3o6JPIkznF&q=85&s=a443e6b996d18659bedcca04aa35b788" alt="Slides number control" width="1918" height="926" data-path="images/user-guide/creating-presentations/generation-workflow/slides-number.png" />
    </Frame>

    <Frame caption="Language control">
      <img src="https://mintcdn.com/presenton-521d9e2f/isevrd3o6JPIkznF/images/user-guide/creating-presentations/generation-workflow/language.png?fit=max&auto=format&n=isevrd3o6JPIkznF&q=85&s=2e8631ad8cb73fc19d43e6d39ec435f6" alt="Language control" width="1918" height="926" data-path="images/user-guide/creating-presentations/generation-workflow/language.png" />
    </Frame>

    <Frame caption="Advanced settings controls">
      <img src="https://mintcdn.com/presenton-521d9e2f/isevrd3o6JPIkznF/images/user-guide/creating-presentations/generation-workflow/advanced-setting.png?fit=max&auto=format&n=isevrd3o6JPIkznF&q=85&s=372fb3ec268290f2836b3ae15a640eae" alt="Advanced settings controls" width="1918" height="926" data-path="images/user-guide/creating-presentations/generation-workflow/advanced-setting.png" />
    </Frame>

    ## 5. Review design and theme options

    Use the available theme or generation settings controls in your instance before creating the deck. The exact options depend on how the open-source instance is configured.

    <Frame caption="Theme and generation settings reference">
      <video className="doc-video" controls preload="metadata" src="https://mintlify.s3.us-west-1.amazonaws.com/presenton-521d9e2f/images/welcomevideo/toutrialvideosuraj.mp4">
        Your browser does not support the video tag.
      </video>
    </Frame>
  </Tab>
</Tabs>
