> ## Documentation Index
> Fetch the complete documentation index at: https://docs.presenton.ai/llms.txt
> Use this file to discover all available pages before exploring further.
# Create a custom theme
> Define brand colors, typography, and logo settings in Presenton Cloud, then apply the custom theme to a presentation.
Create a custom theme in Presenton Cloud when you want future presentations to follow your brand colors, typography, and logo instead of the built-in theme styles.
## Before you start
* Decide on your primary brand color and background color before you begin.
* Keep your company name ready if you want it to appear in the theme.
* Prepare your logo file and any custom font files if your brand uses them.
Presenton builds a theme in four stages: **Brand**, **Palette**, **Fonts**, and **Logo**. You can review the live preview while moving through each step.
## Create a new theme
### Open the Themes area
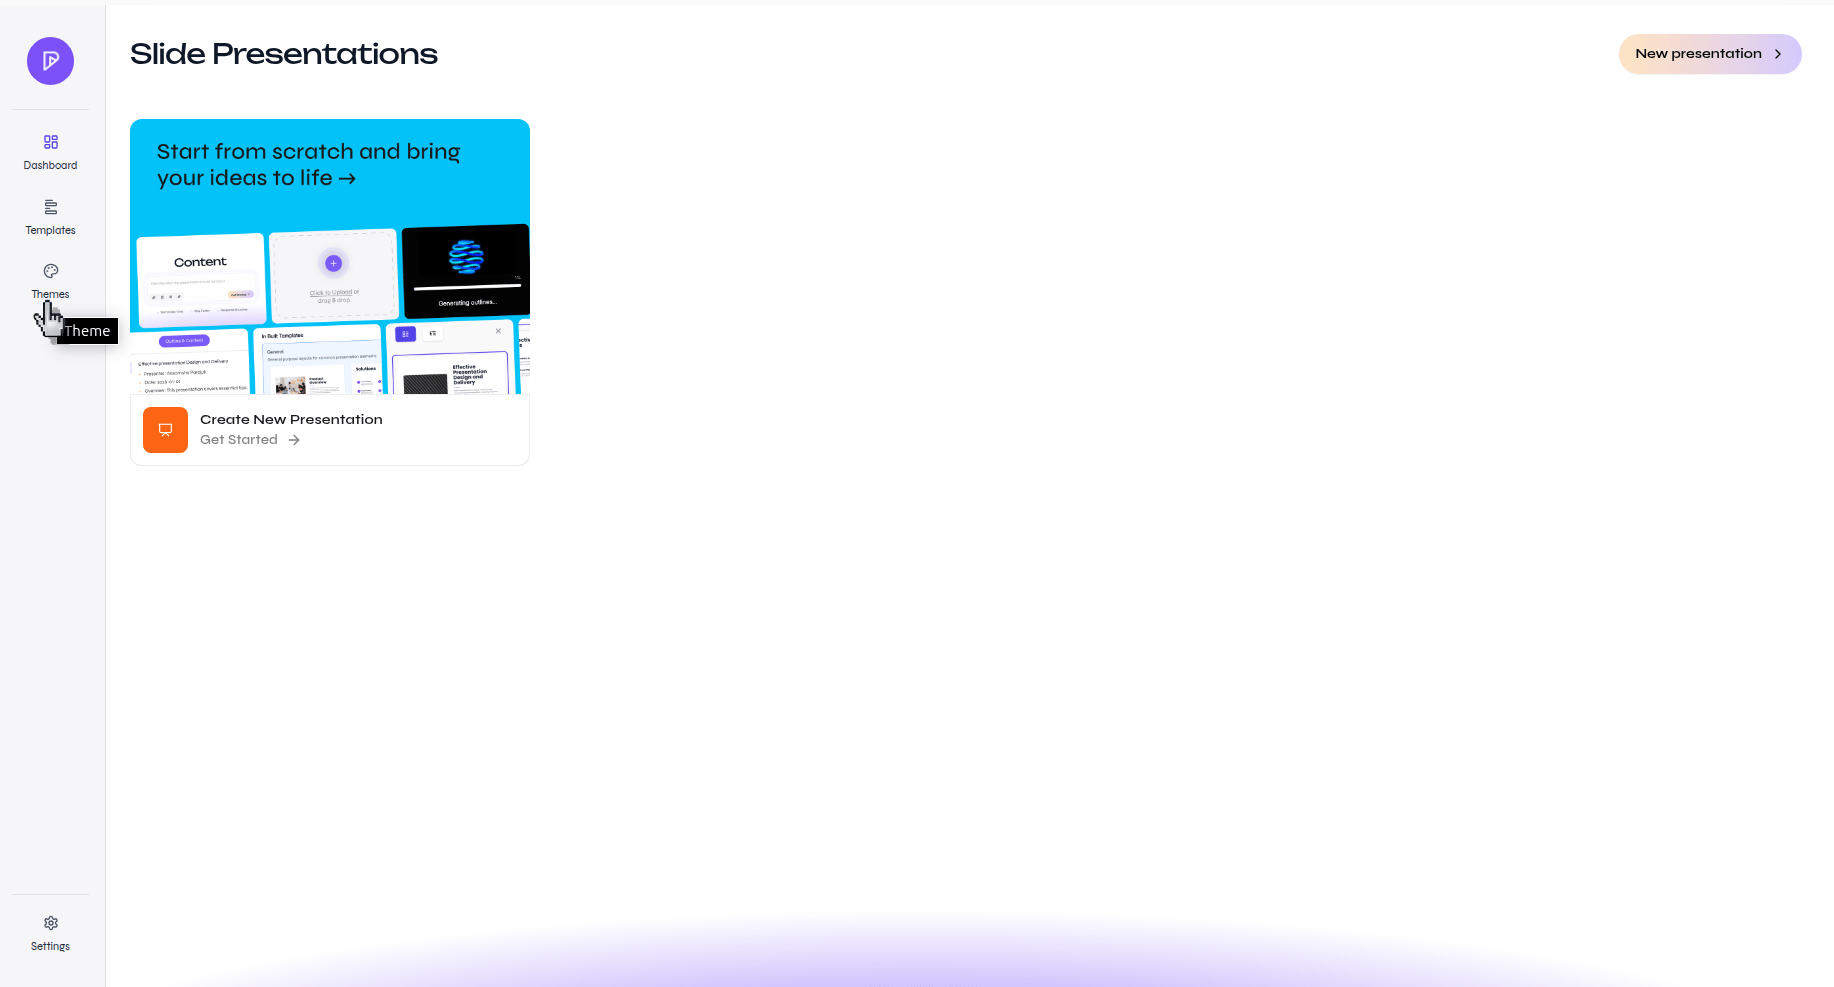
In the left navigation, click **Themes**.
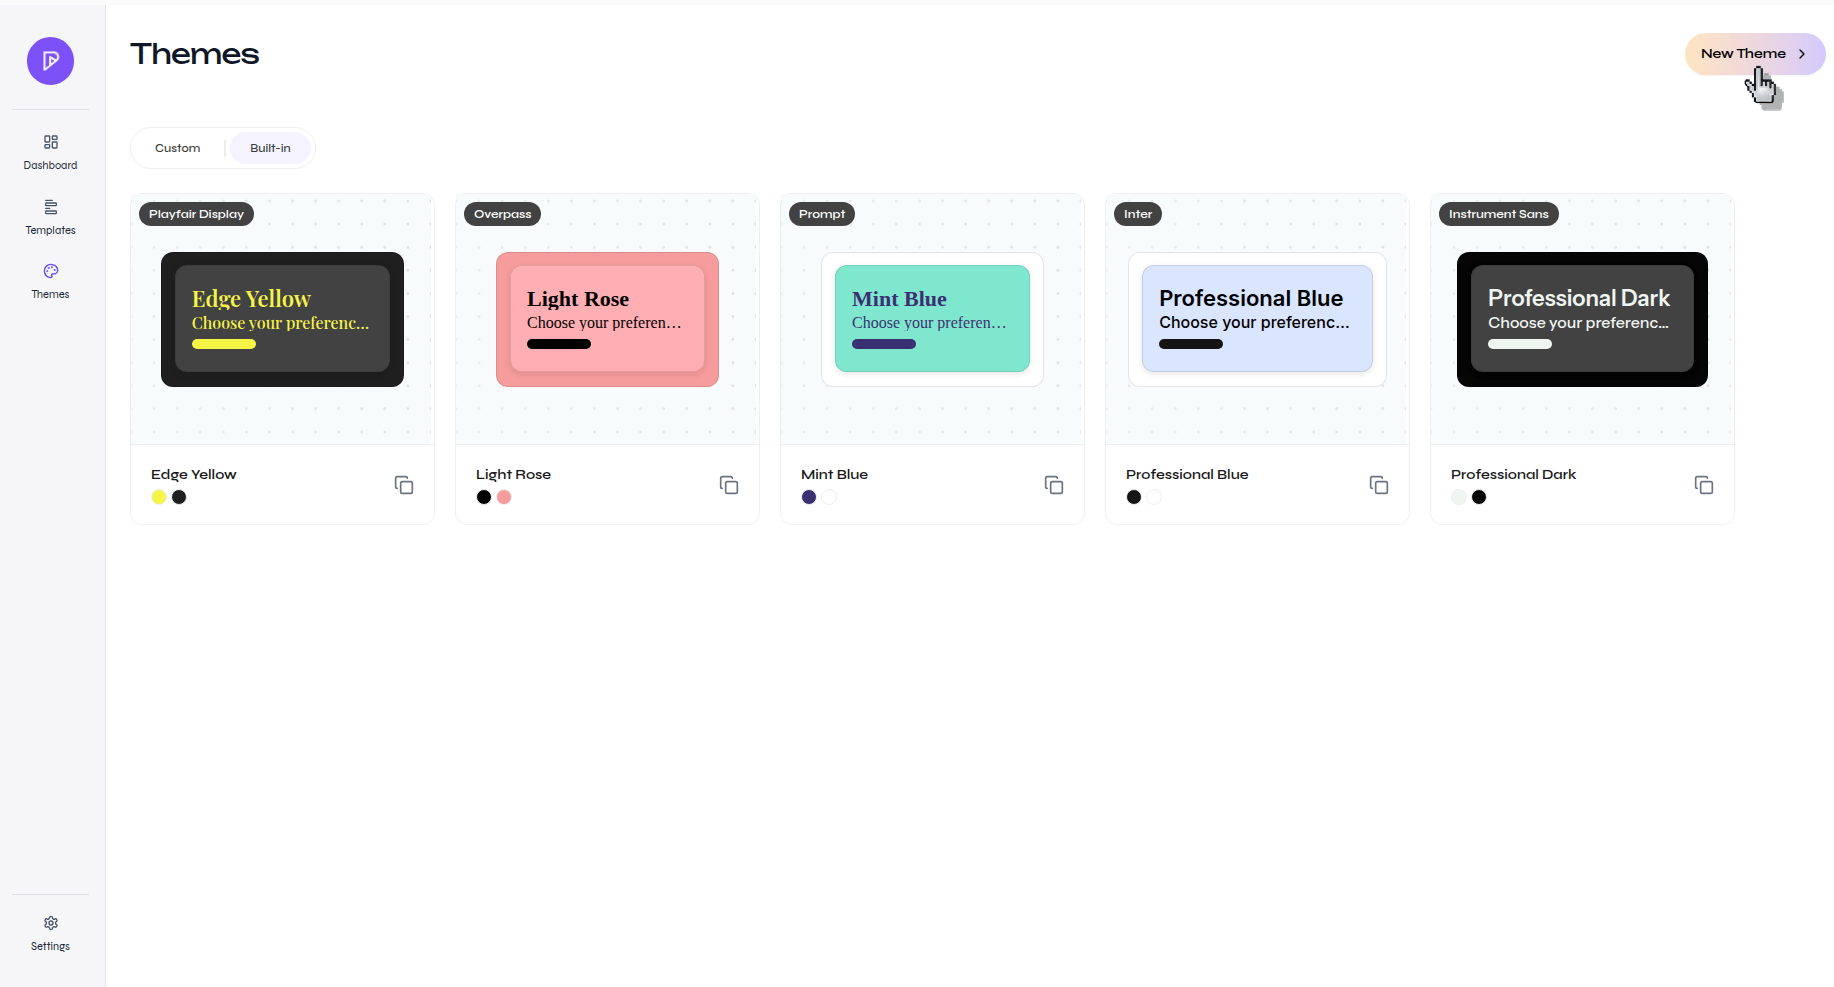
 On the Themes page, click **New Theme**.
 ### Set the brand colors
In the **Brand Colors** step, set your **Primary Color** and **Background Color**, then click **Generate theme palette**.
### Set the brand colors
In the **Brand Colors** step, set your **Primary Color** and **Background Color**, then click **Generate theme palette**.
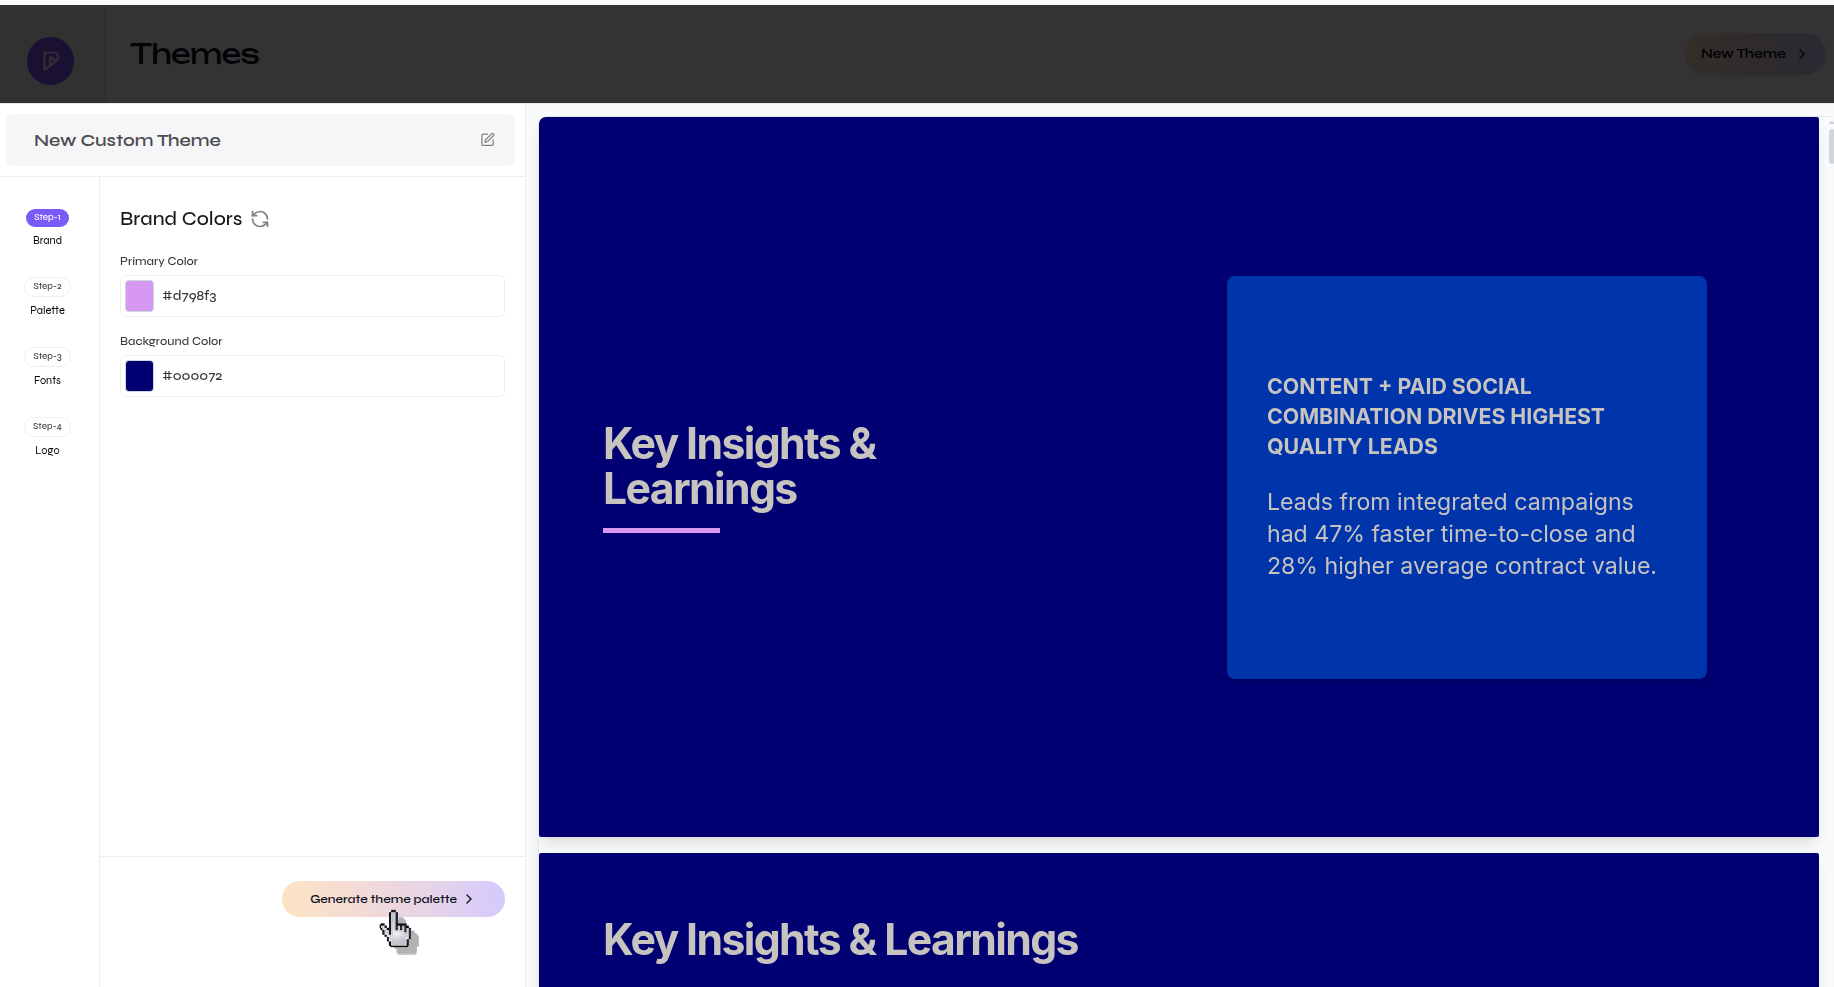 Start with colors that already work well together in your brand. Presenton uses these inputs to generate the broader palette for cards, text, and chart accents.
### Review and refine the generated palette
Review the generated colors for background text, primary text, card color, and chart accents. Update any values that need adjustment.
Start with colors that already work well together in your brand. Presenton uses these inputs to generate the broader palette for cards, text, and chart accents.
### Review and refine the generated palette
Review the generated colors for background text, primary text, card color, and chart accents. Update any values that need adjustment.
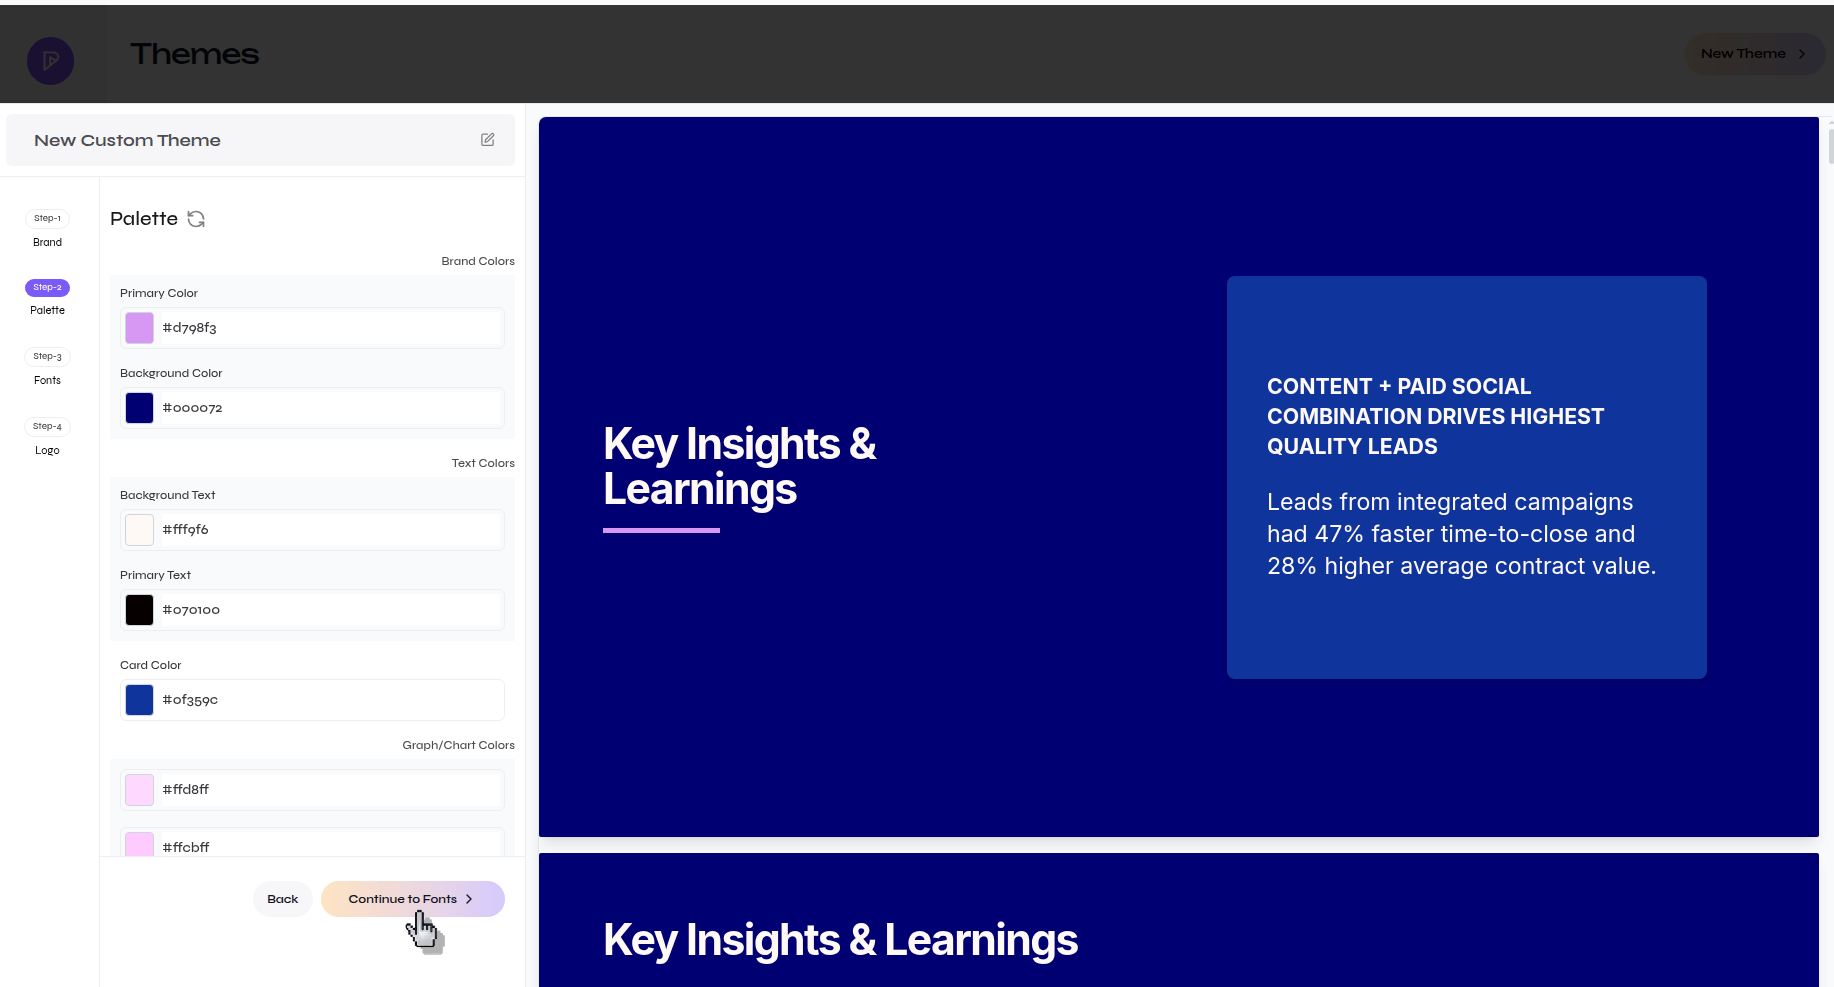 When the palette looks correct in the preview, click **Continue to Fonts**.
Use this step to catch contrast problems early. If the preview text becomes hard to read against the background, adjust the palette before continuing.
### Choose the typography
In the **Typography** step, either choose one of the preset fonts or upload your own font file.
When the palette looks correct in the preview, click **Continue to Fonts**.
Use this step to catch contrast problems early. If the preview text becomes hard to read against the background, adjust the palette before continuing.
### Choose the typography
In the **Typography** step, either choose one of the preset fonts or upload your own font file.
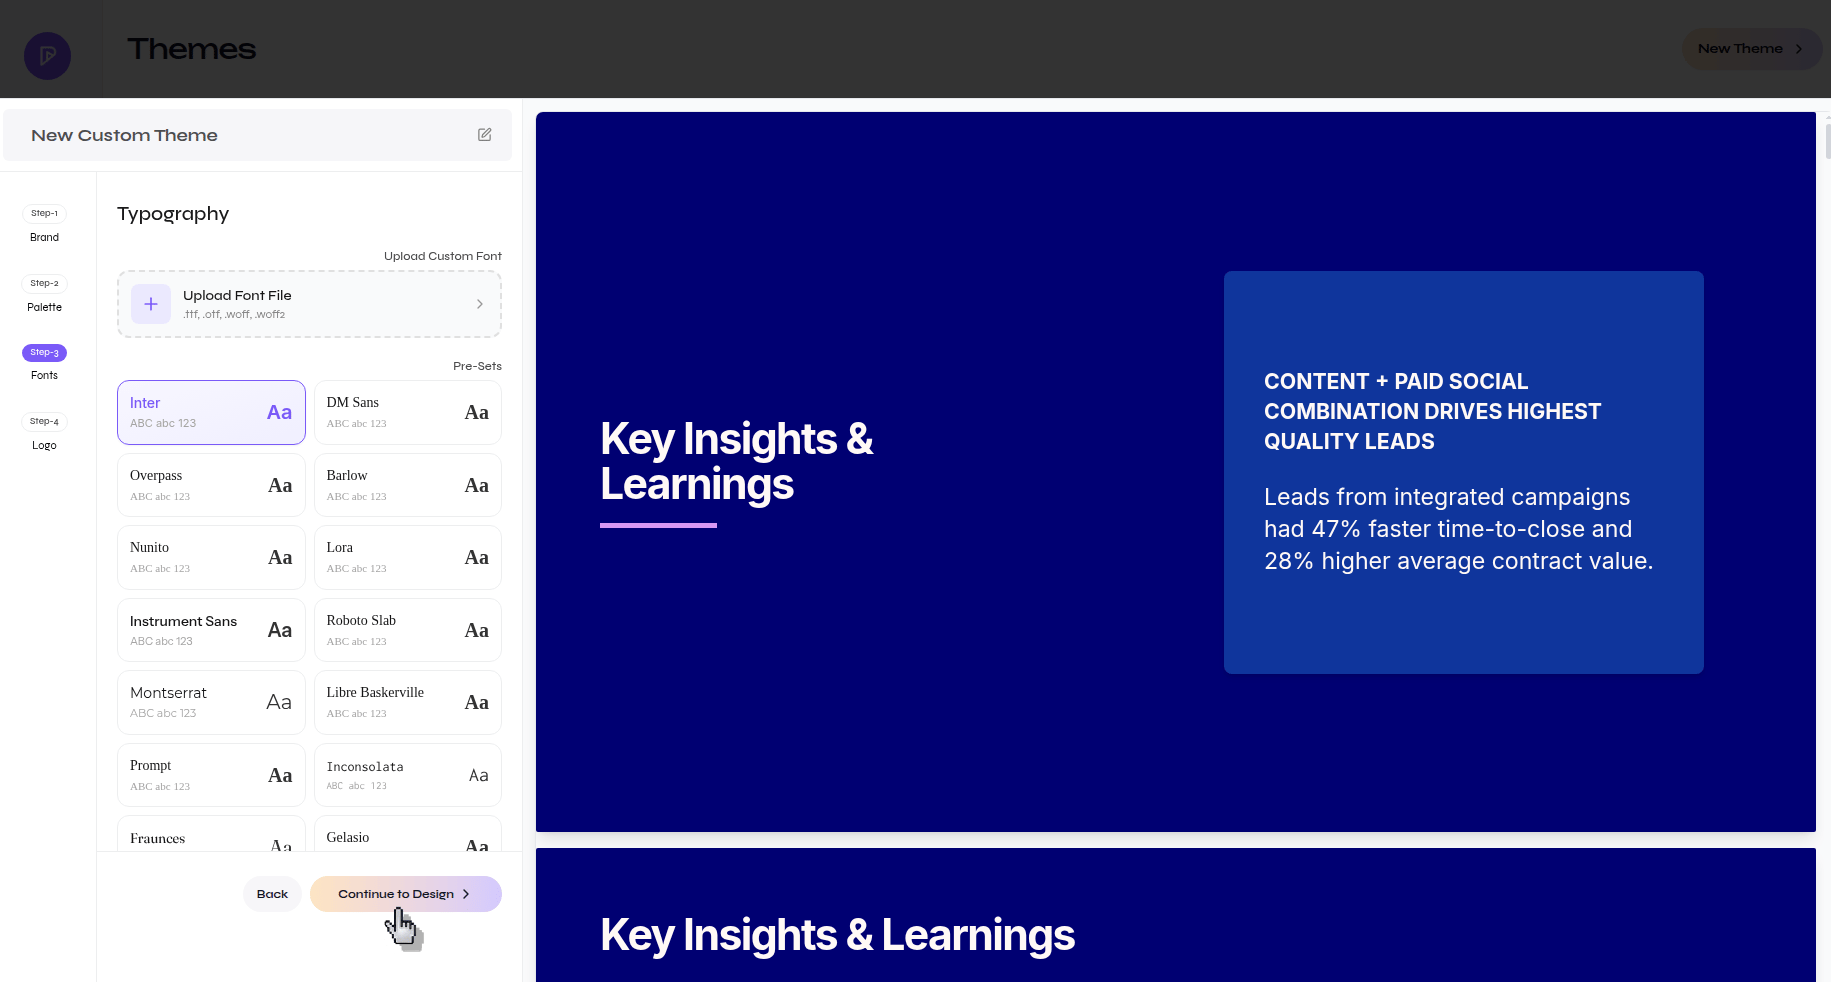
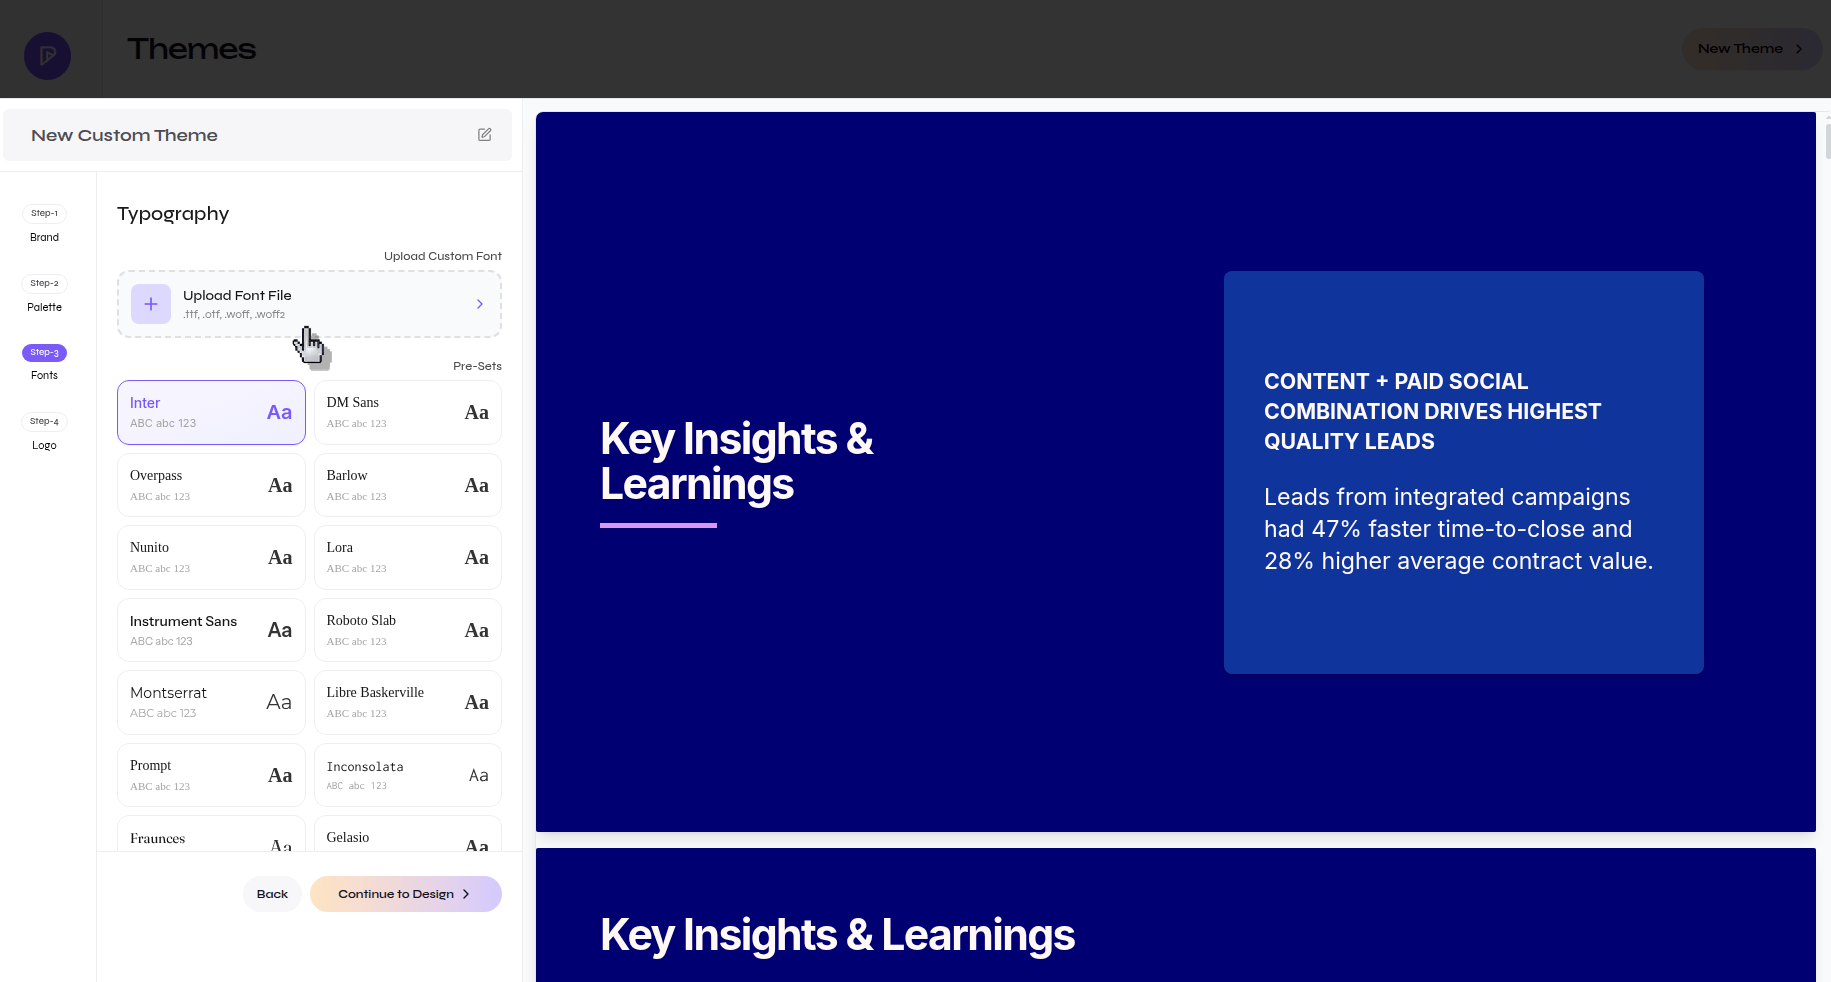 Review the live preview with your selected font, then click **Continue to Design** to move to the last step.
 If your brand depends on a specific typeface, upload the actual font file instead of choosing a visually similar preset.
### Add branding details and save the theme
In the final step, enter the **Company Name** and upload the **Brand Logo** if you want those elements to appear in the theme.
If your brand depends on a specific typeface, upload the actual font file instead of choosing a visually similar preset.
### Add branding details and save the theme
In the final step, enter the **Company Name** and upload the **Brand Logo** if you want those elements to appear in the theme.
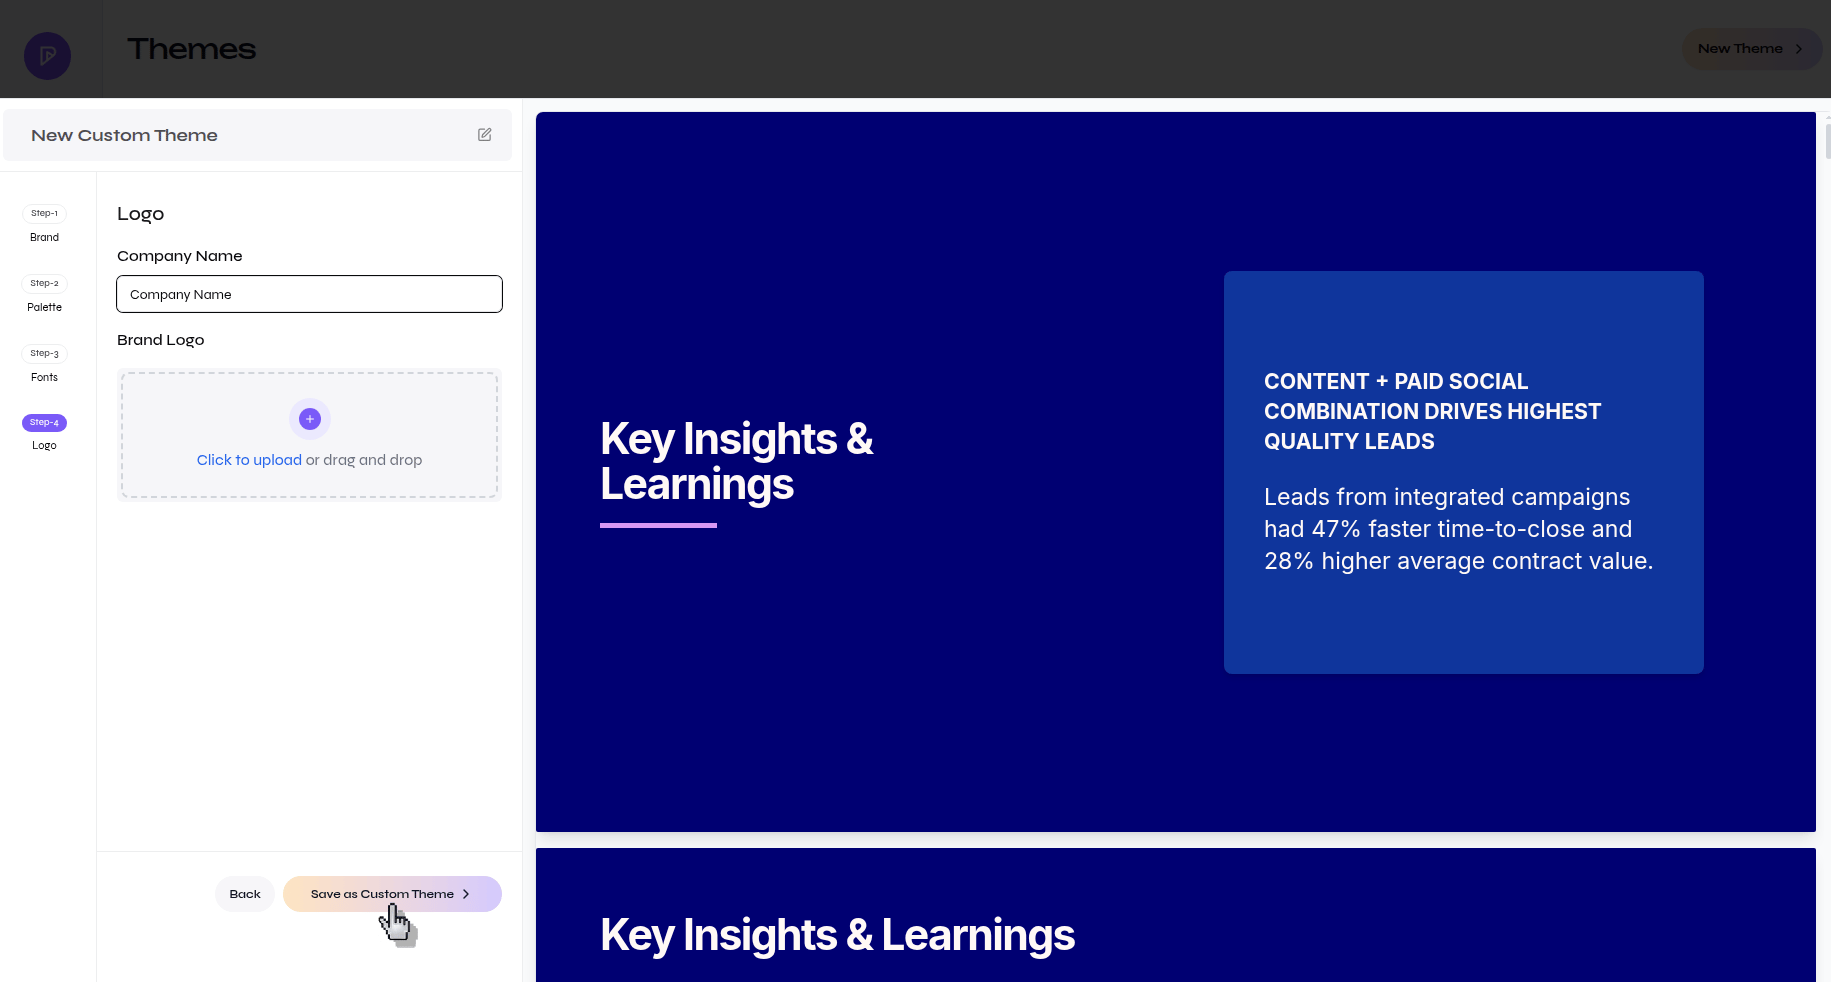 Click **Save as Custom Theme** to create the new theme.
After saving, return to the Themes page and verify that the new theme is listed under the **Custom** tab.
Click **Save as Custom Theme** to create the new theme.
After saving, return to the Themes page and verify that the new theme is listed under the **Custom** tab.
 ## Apply the new theme to a presentation
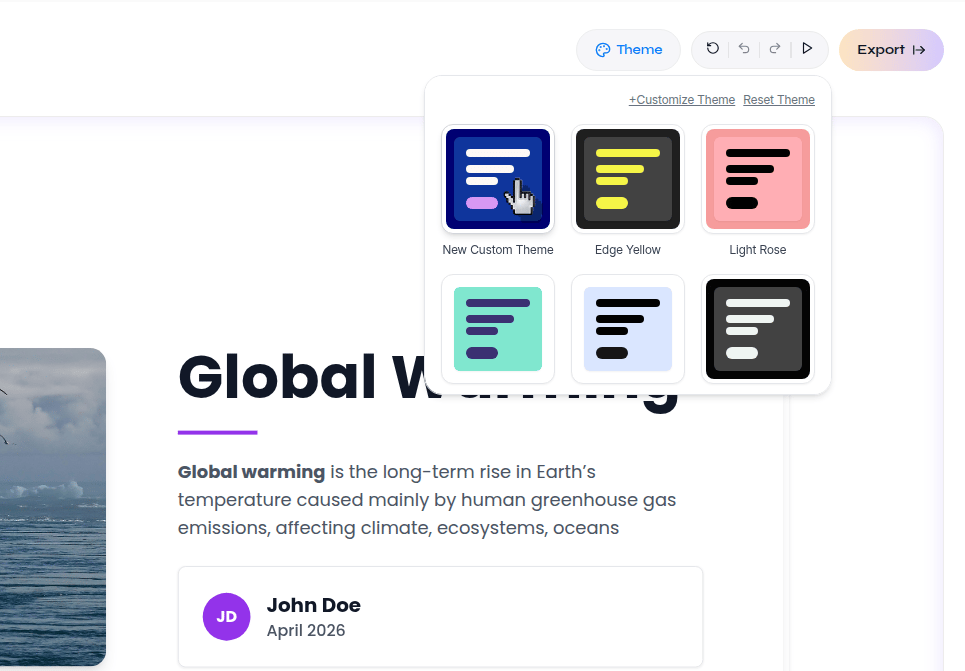
In the editor, click **Theme** in the top toolbar.
## Apply the new theme to a presentation
In the editor, click **Theme** in the top toolbar.
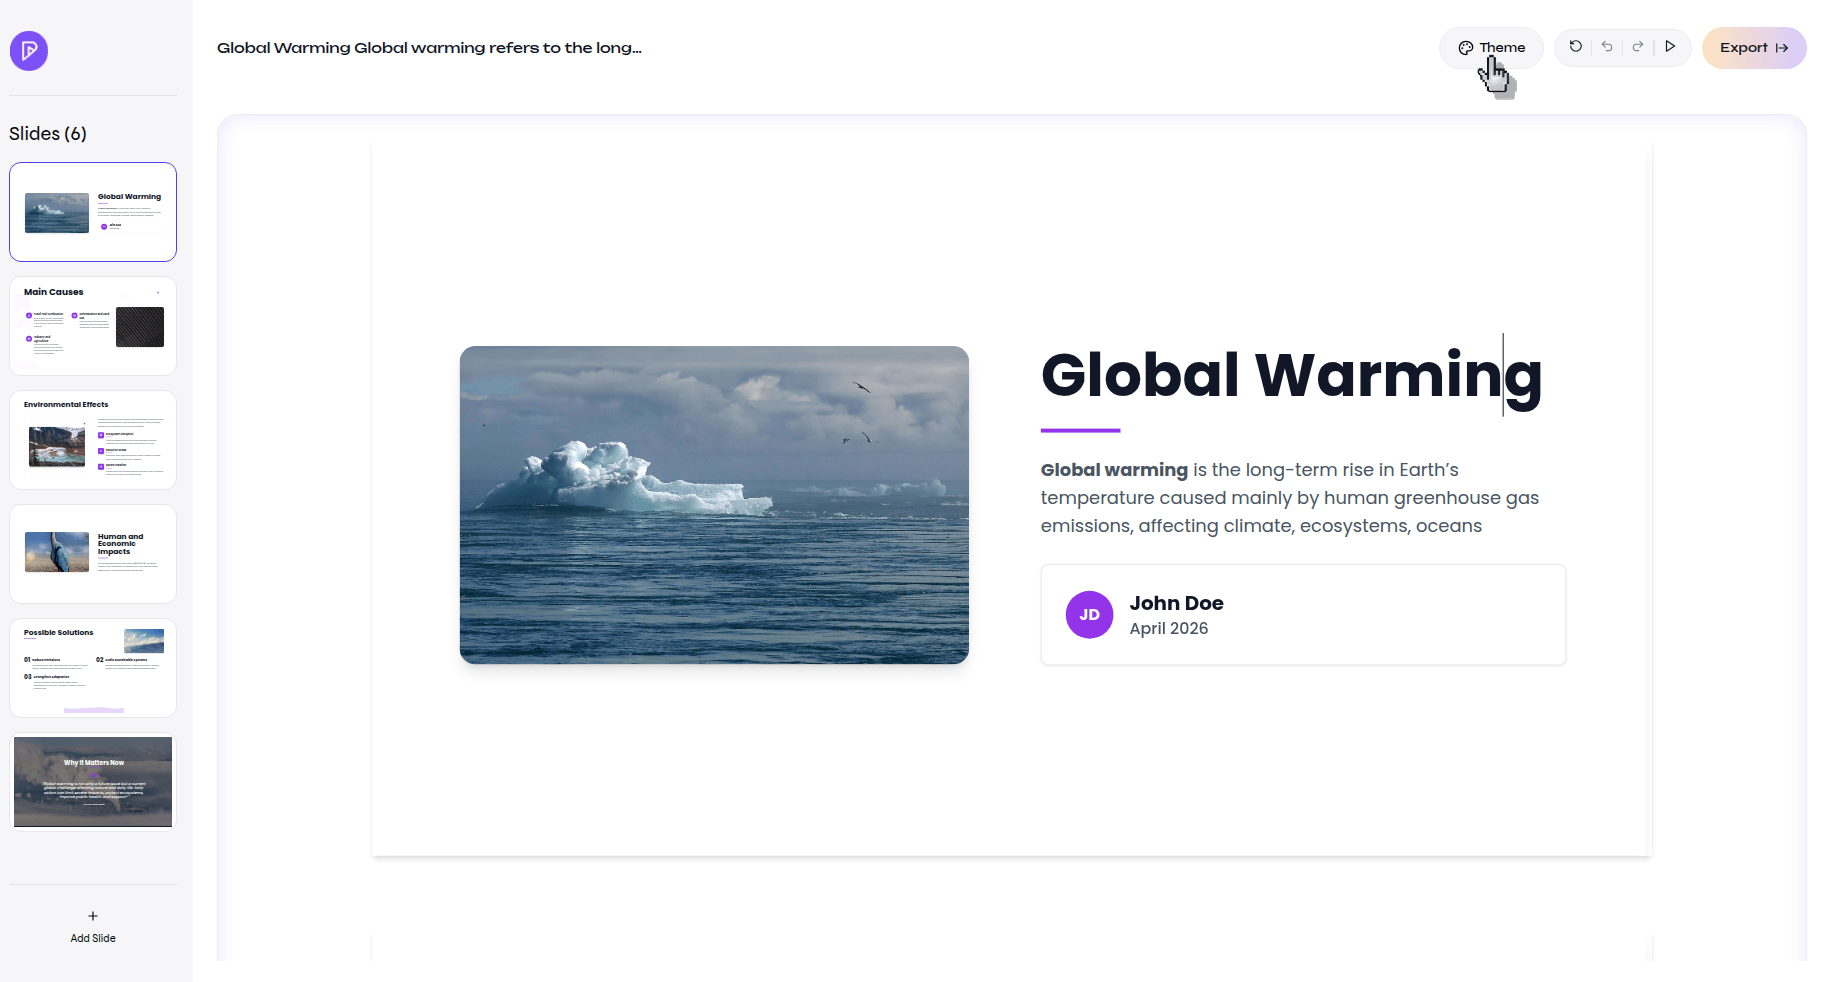 In the theme picker, choose the custom theme you created.
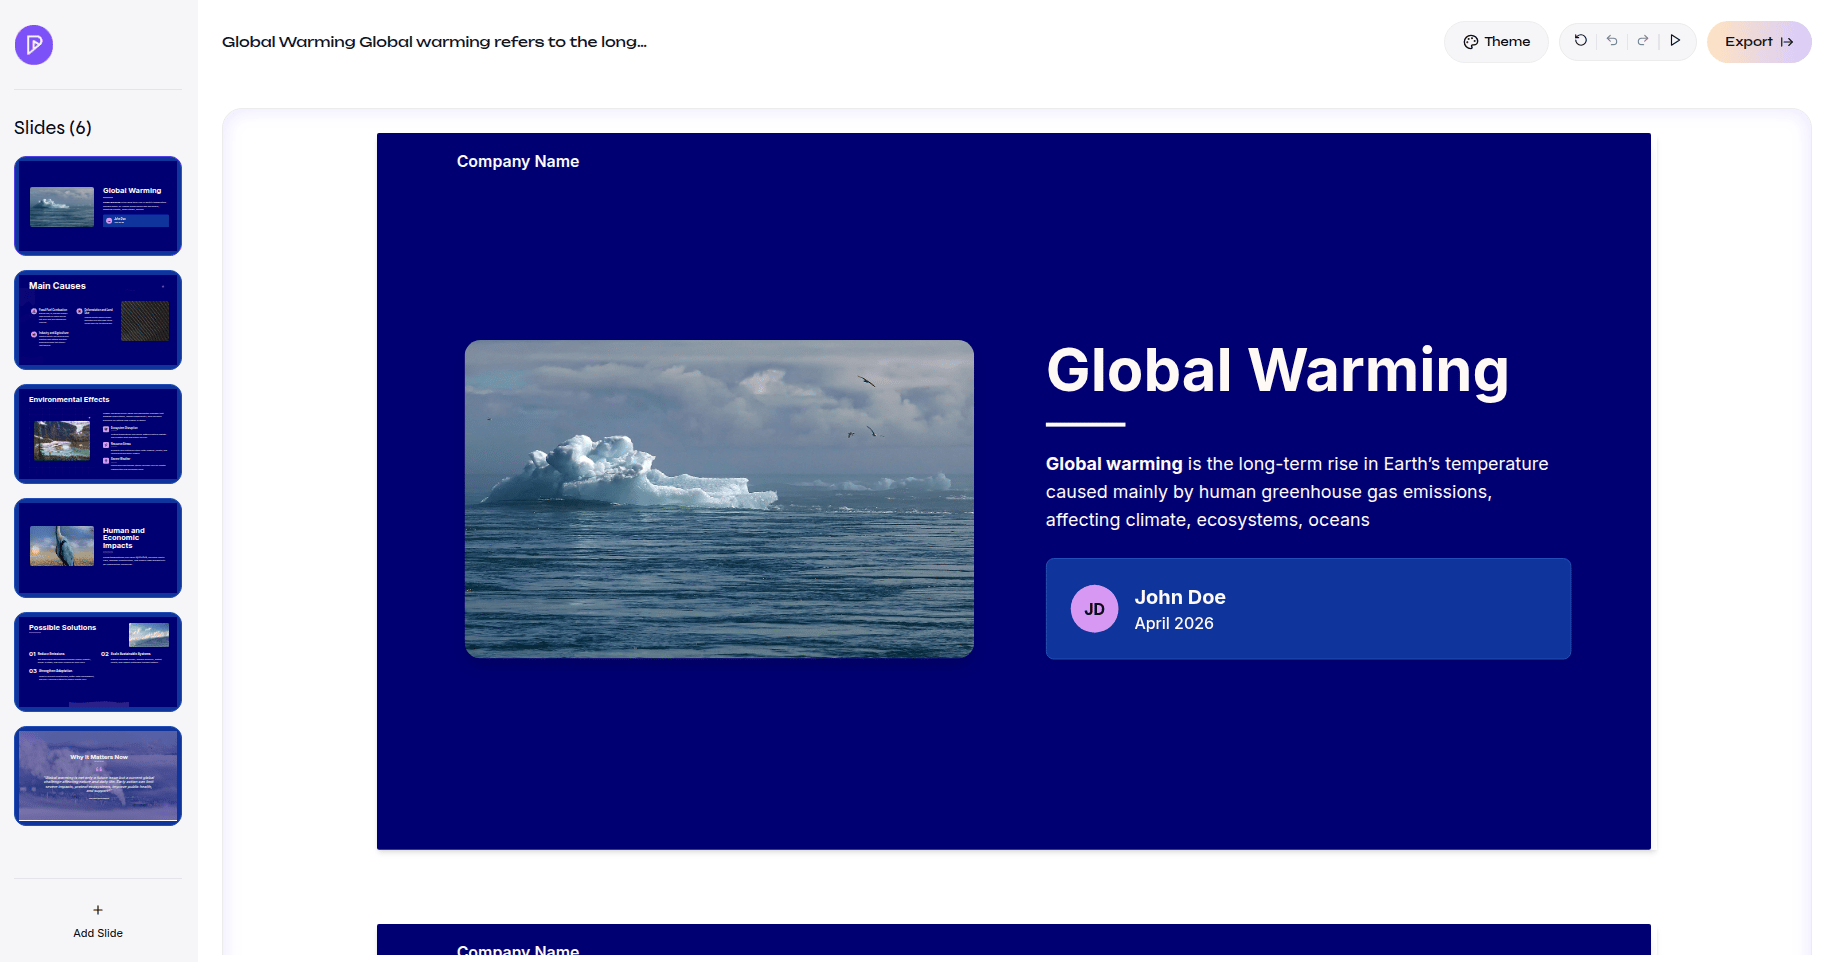
 Confirm that the presentation updates to the new colors, text styling, and branding.
 ## Verify the result
The custom theme appears in your Themes list and can be applied from the editor’s theme picker to update the presentation styling.
## Next steps
* Apply the theme to a new presentation and check how it looks across multiple slide types.
* Refine the colors or fonts if the presentation needs stronger contrast or different typography.
* Create additional themes for different brands, clients, or presentation styles.
## Verify the result
The custom theme appears in your Themes list and can be applied from the editor’s theme picker to update the presentation styling.
## Next steps
* Apply the theme to a new presentation and check how it looks across multiple slide types.
* Refine the colors or fonts if the presentation needs stronger contrast or different typography.
* Create additional themes for different brands, clients, or presentation styles.