> ## Documentation Index
> Fetch the complete documentation index at: https://docs.presenton.ai/llms.txt
> Use this file to discover all available pages before exploring further.
# Create a presentation from a document
> Upload a report, proposal, or brief and turn it into a focused Cloud presentation.
Presenton can turn an existing document into an editable presentation. This guide shows how to upload the source, review the generated outline, and verify the finished deck before sharing it.
## Before you start
* Sign in to [Presenton Cloud](https://presenton.ai/auth/login).
* Start with one clear source document.
* Decide who the presentation is for and what they should learn or do next.
* Note any important figures, names, or dates so you can verify them in the generated slides.
Presenton accepts common document, presentation, spreadsheet, text, and web-document formats, including PDF, DOCX, PPTX, CSV, XLSX, TXT, Markdown, HTML, and AsciiDoc.
## Build the presentation
From the Cloud dashboard, choose **Create presentation** to open the **Generate** page.
Select the attachment area and choose the source file. Wait until its filename appears below the upload area.
You can generate from the document alone or add an instruction in **Write prompt** to control the audience, emphasis, and outcome. For example:
> Turn this report into a seven-slide executive update. Focus on performance, risks, and recommended next steps. Preserve all reported figures exactly.
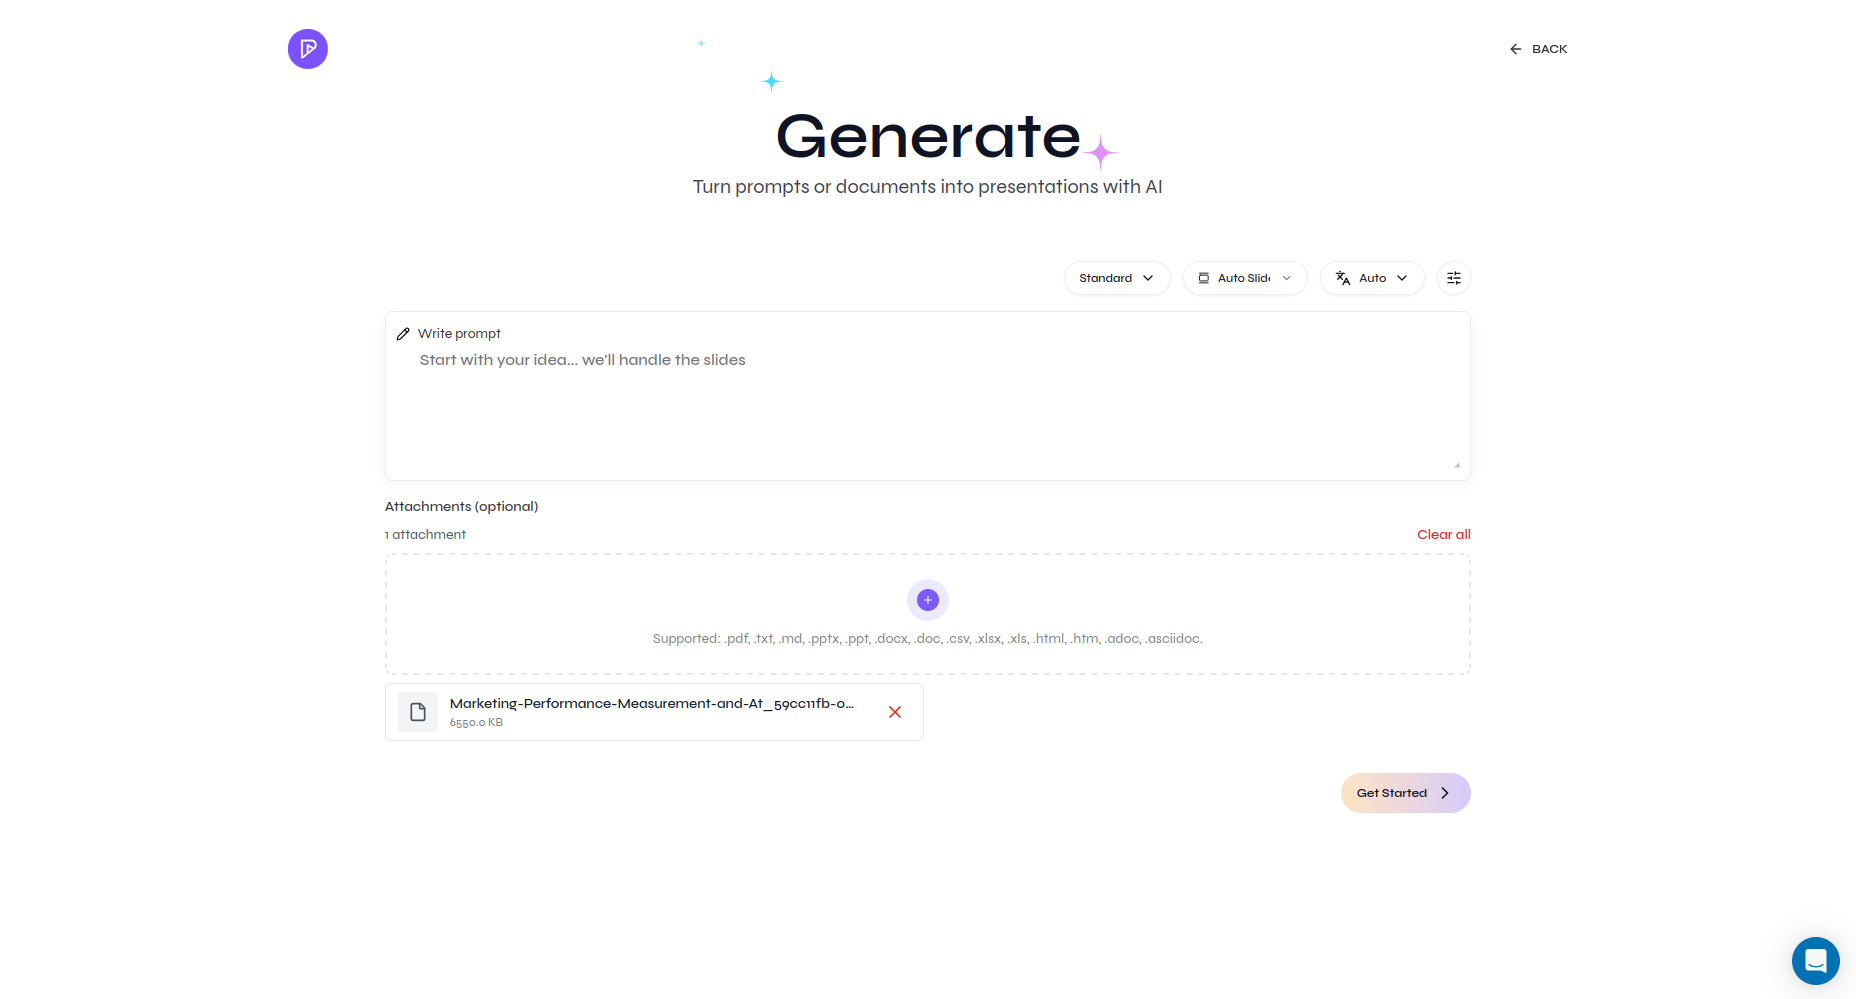 Select the presentation type, language, and an appropriate slide count. Open advanced settings if you need a particular tone, content density, title slide, table of contents, or additional instruction.
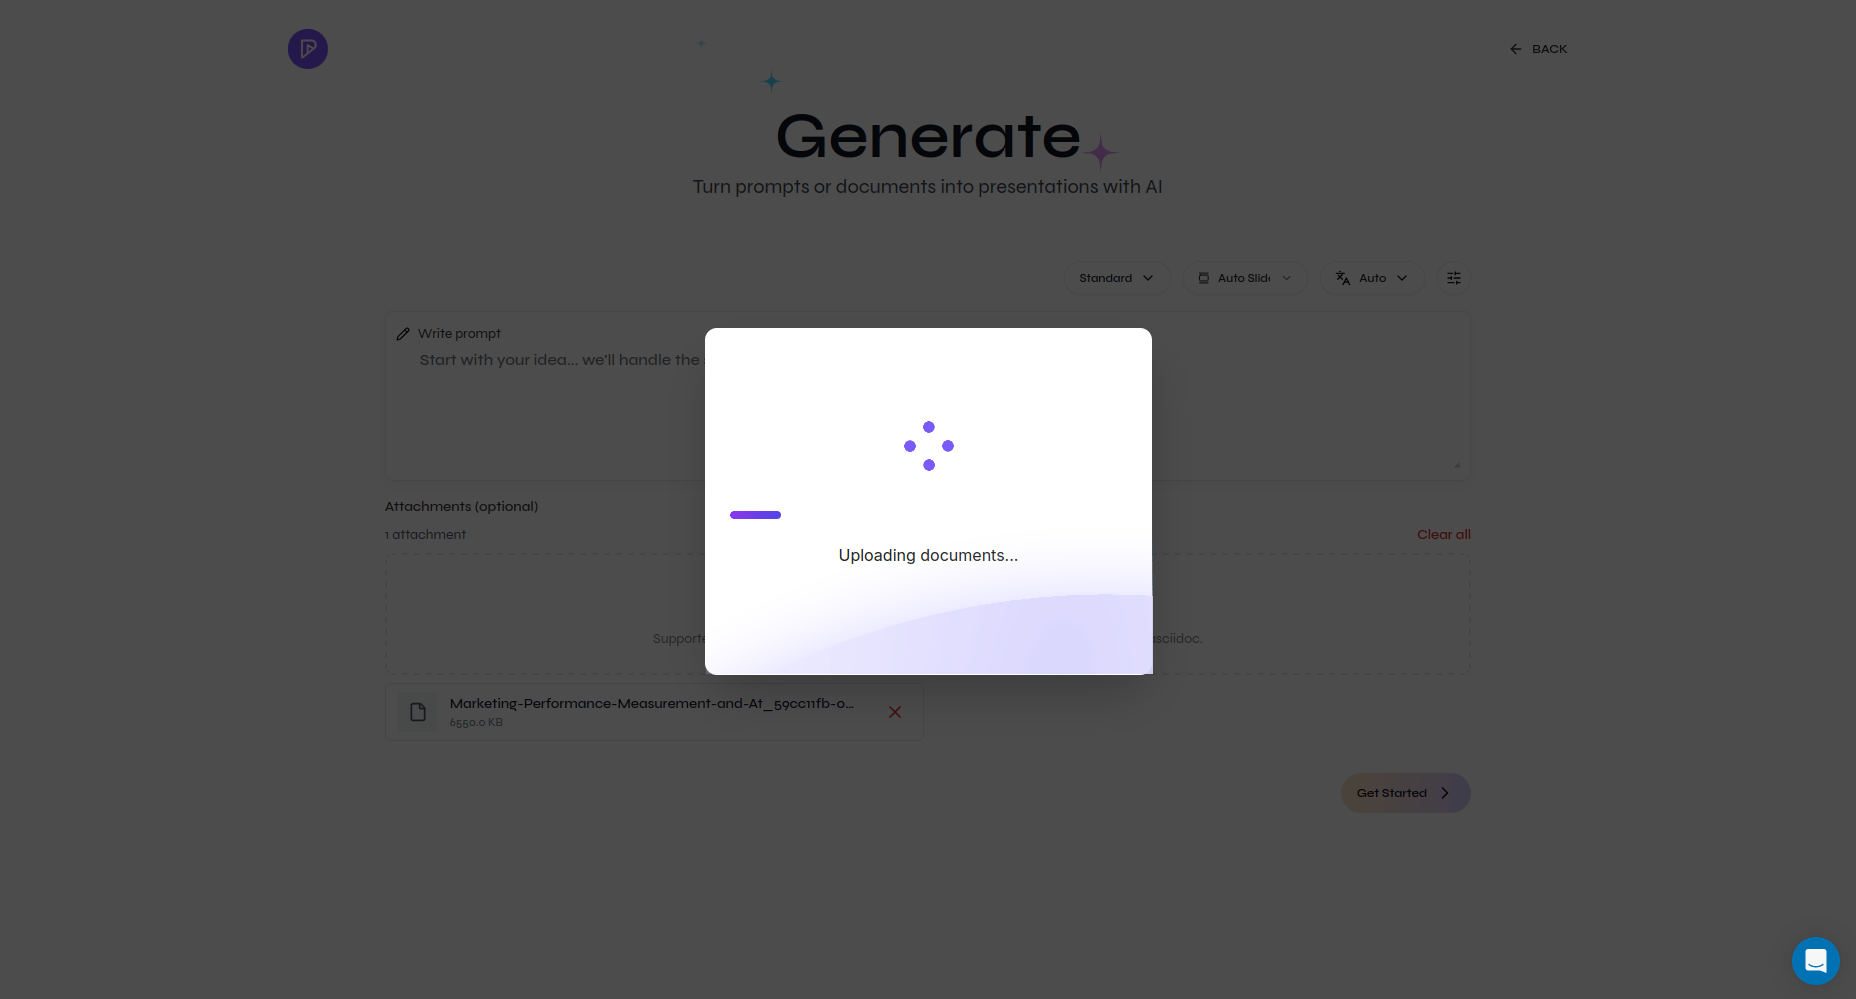
Select **Get Started**. Presenton uploads and processes the document before creating the outline. Keep the page open until processing finishes.
Select the presentation type, language, and an appropriate slide count. Open advanced settings if you need a particular tone, content density, title slide, table of contents, or additional instruction.
Select **Get Started**. Presenton uploads and processes the document before creating the outline. Keep the page open until processing finishes.
 Presenton converts the source into a slide-by-slide outline. Read every section and compare it with the document. Edit the content, drag sections into a better order, remove low-value background, and add any missing conclusion.
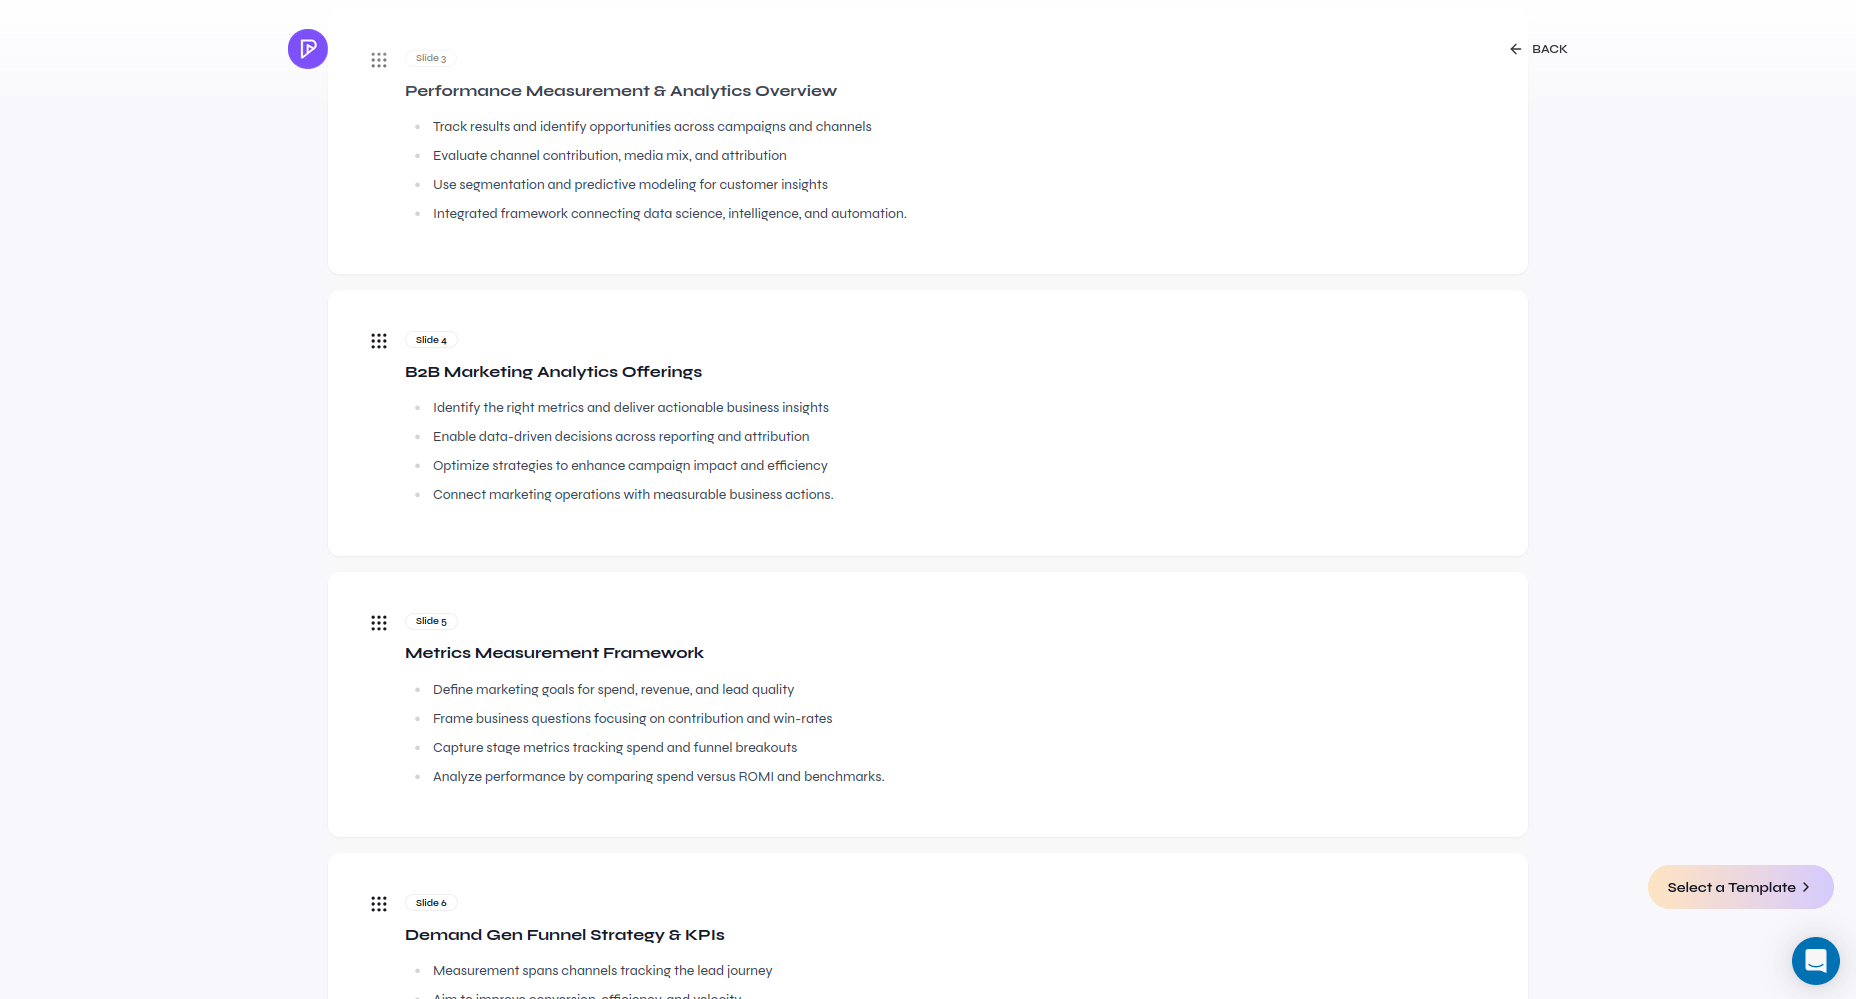 Select **Select a Template**, choose a built-in or custom template, and generate the deck. Presenton applies the document-based outline to the selected layouts.
Check every important number, date, name, and claim against the original document. Review charts and tables especially carefully. Rewrite dense slides and remove details the audience does not need.
Select **Export** and download a PDF for sharing or a PPTX for continued editing. Open the exported file and perform one final check before sending it to your audience.
If the outline is unfocused, clarify the audience, desired outcome, and priority sections in the prompt before trying again.
Always verify AI-generated summaries, calculations, charts, and tables against the source document before sharing the presentation.
Select **Select a Template**, choose a built-in or custom template, and generate the deck. Presenton applies the document-based outline to the selected layouts.
Check every important number, date, name, and claim against the original document. Review charts and tables especially carefully. Rewrite dense slides and remove details the audience does not need.
Select **Export** and download a PDF for sharing or a PPTX for continued editing. Open the exported file and perform one final check before sending it to your audience.
If the outline is unfocused, clarify the audience, desired outcome, and priority sections in the prompt before trying again.
Always verify AI-generated summaries, calculations, charts, and tables against the source document before sharing the presentation.