Create, customize, and export your first presentation in Presenton Cloud.
This guide walks you through creating a presentation from a prompt, refining it with AI, and exporting the finished deck. No installation or provider setup is required.
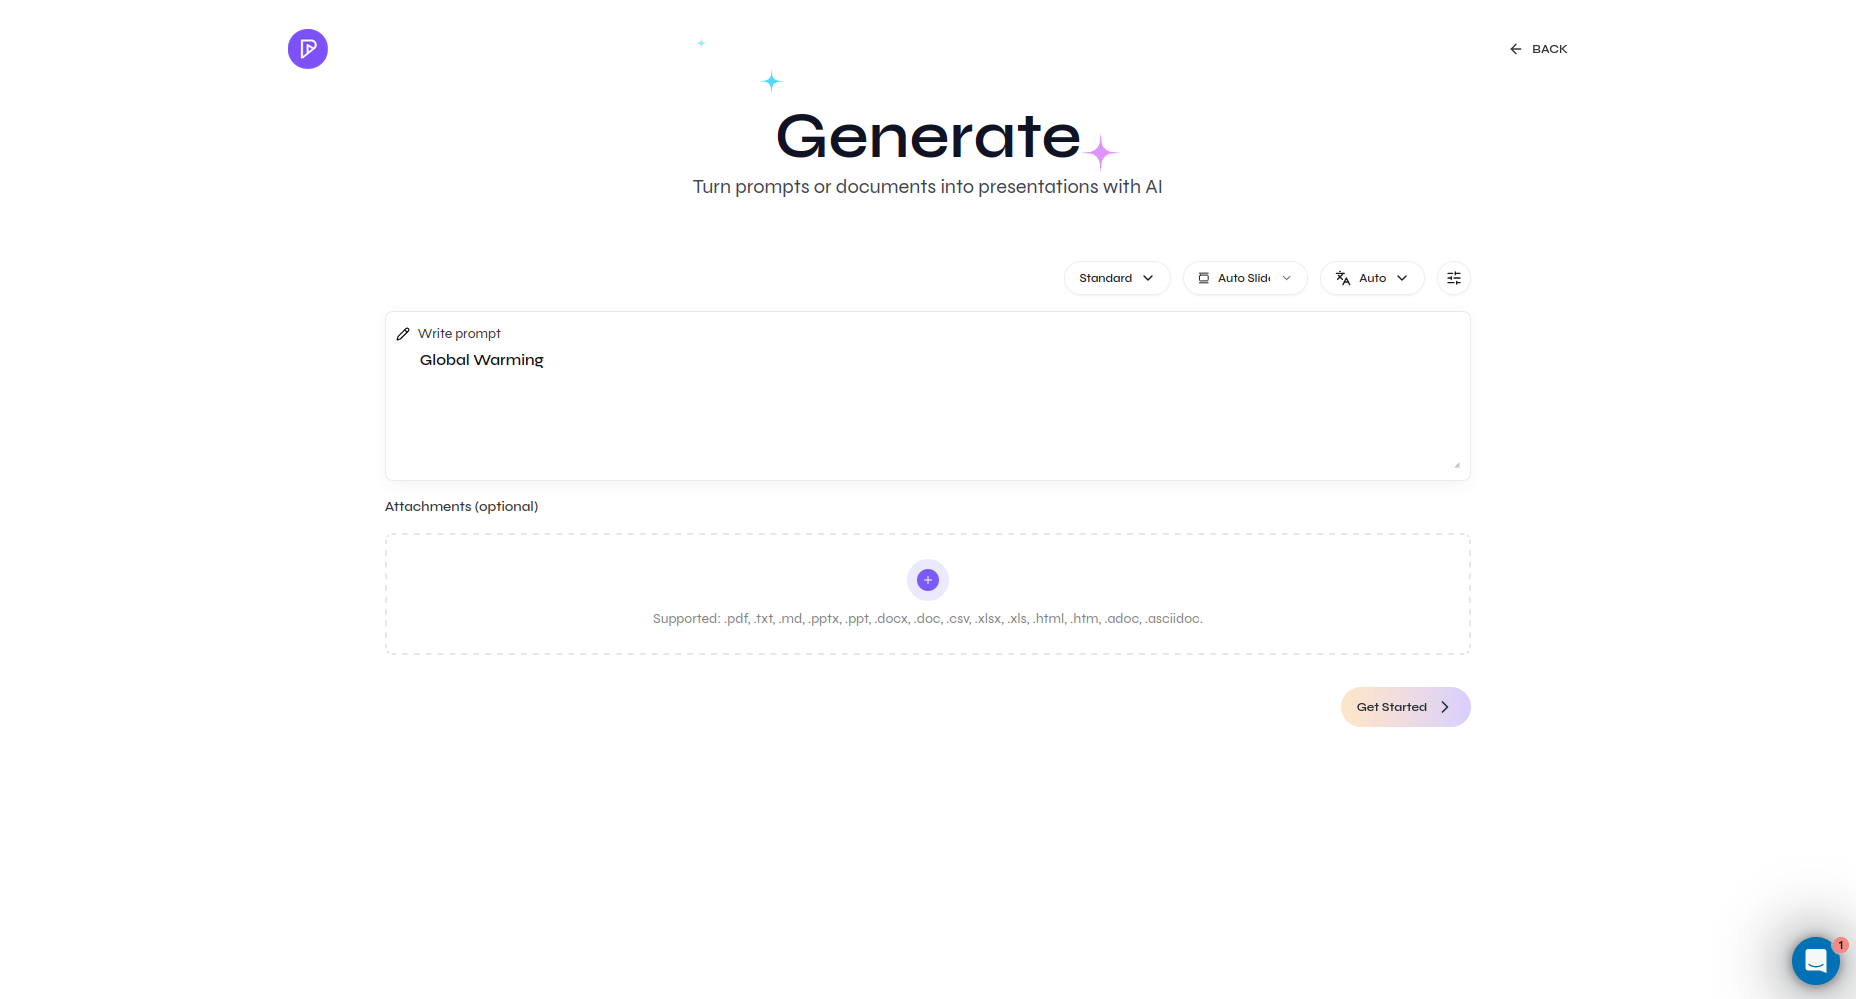
From the dashboard, choose Create presentation to open the Generate page.
The Generate page where you create a presentation from a prompt or document
2
Enter your presentation prompt
Type the topic or instructions in Write prompt. A simple topic such as Global Warming works, but including the audience, goal, and desired structure produces a more focused result.For example:
Create a presentation about global warming for a general audience. Explain its causes, effects, and potential solutions, and include supporting data.
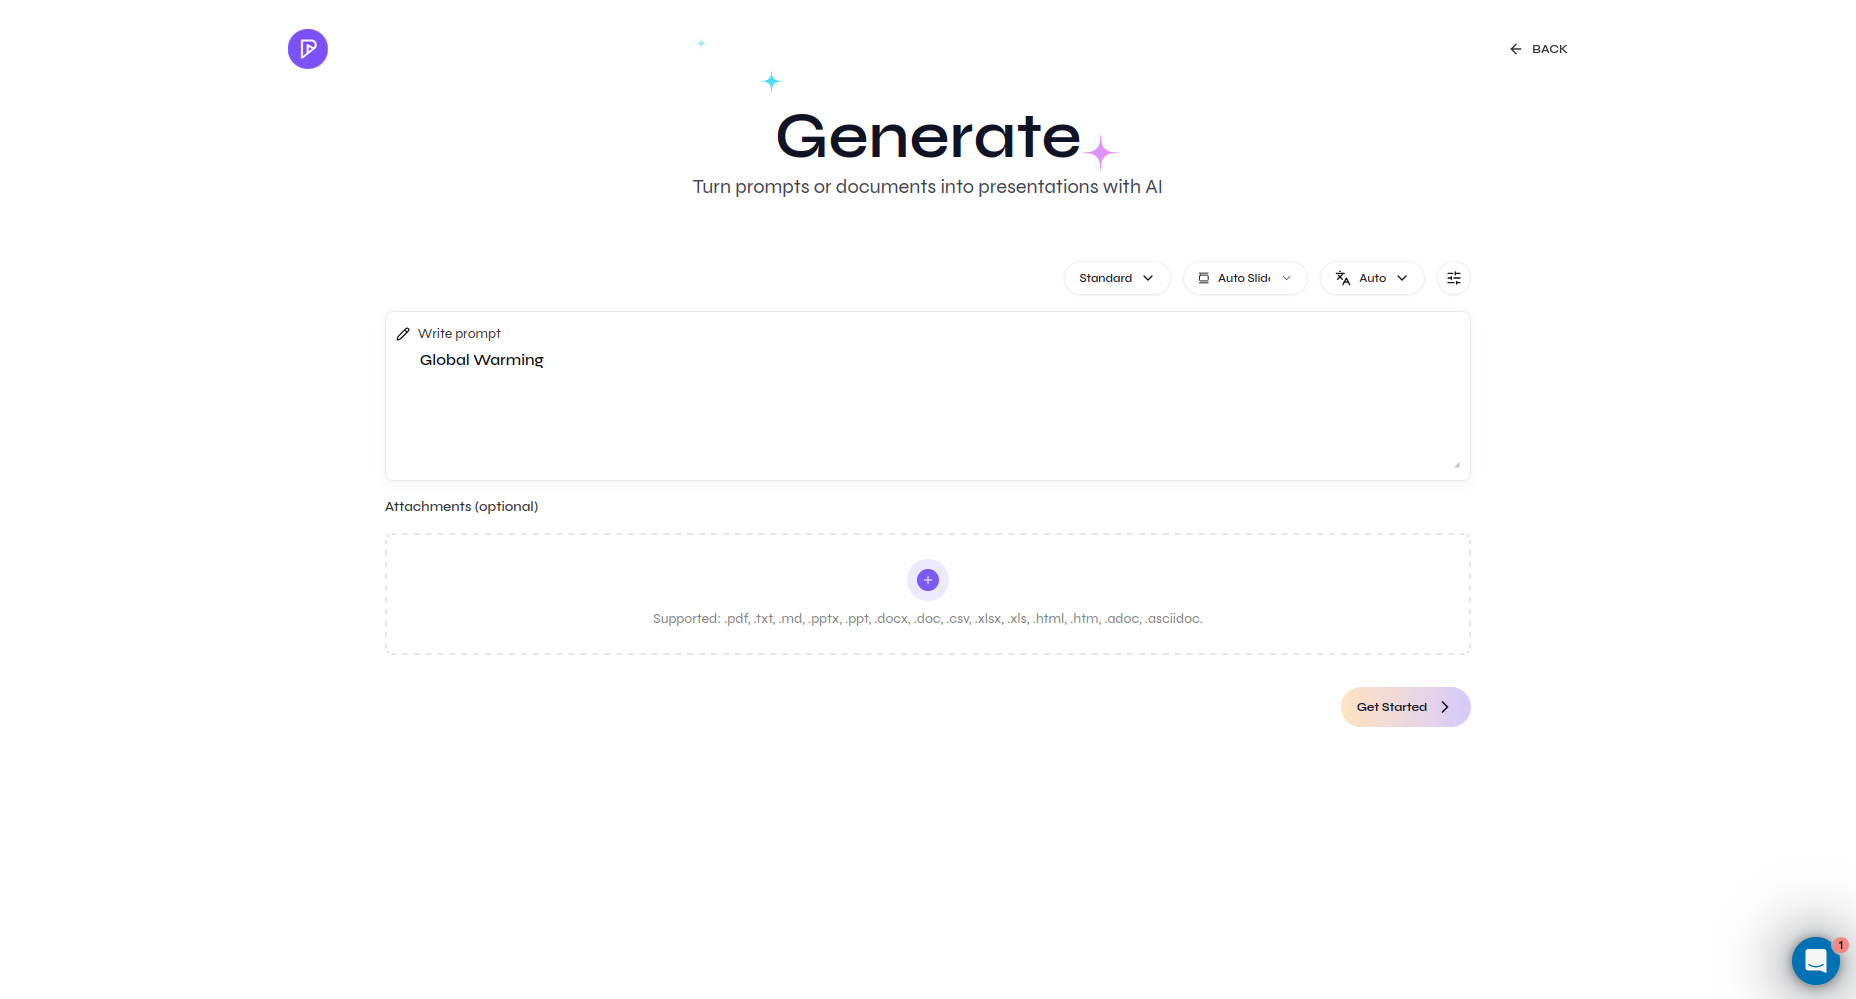
Enter the topic or a detailed prompt for the presentation
3
Generate the outline
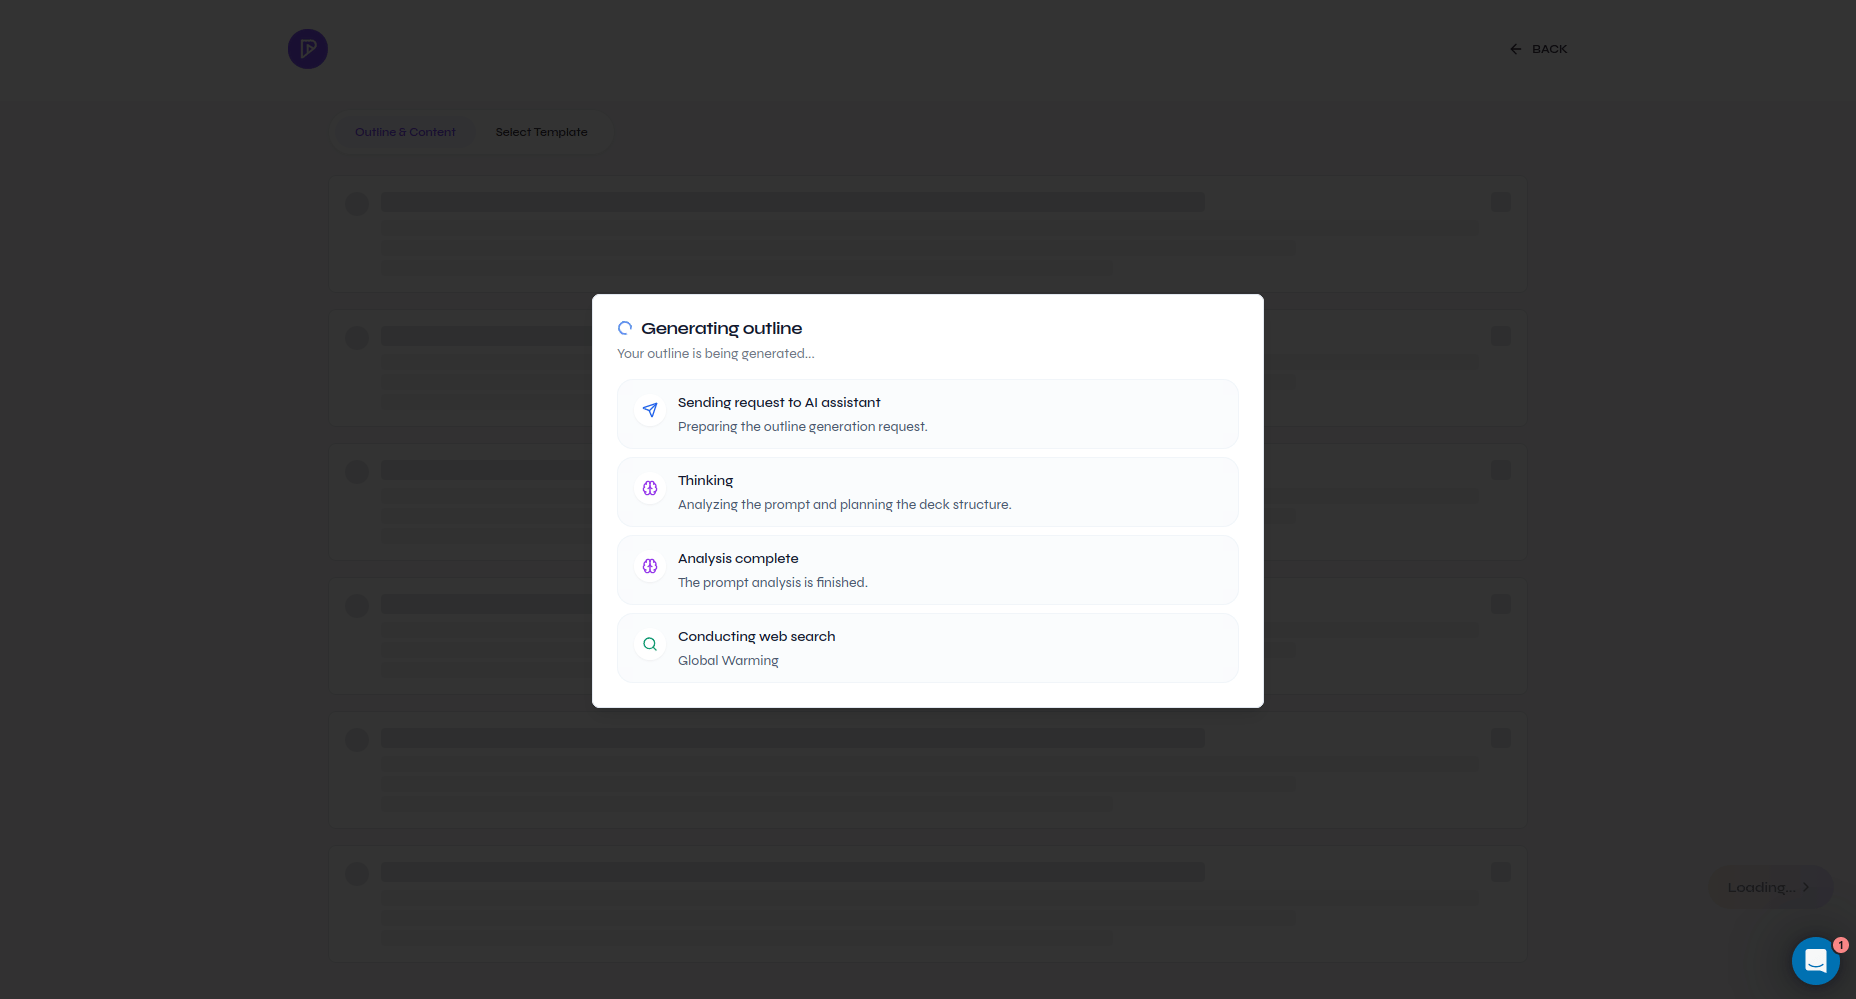
Optionally attach a source file or adjust the presentation type, slide count, language, and advanced settings. Then select Get Started. Presenton analyzes the prompt, can search the web when enabled, and generates an outline.
Presenton generating the outline and researching the topic
4
Review and edit the outline
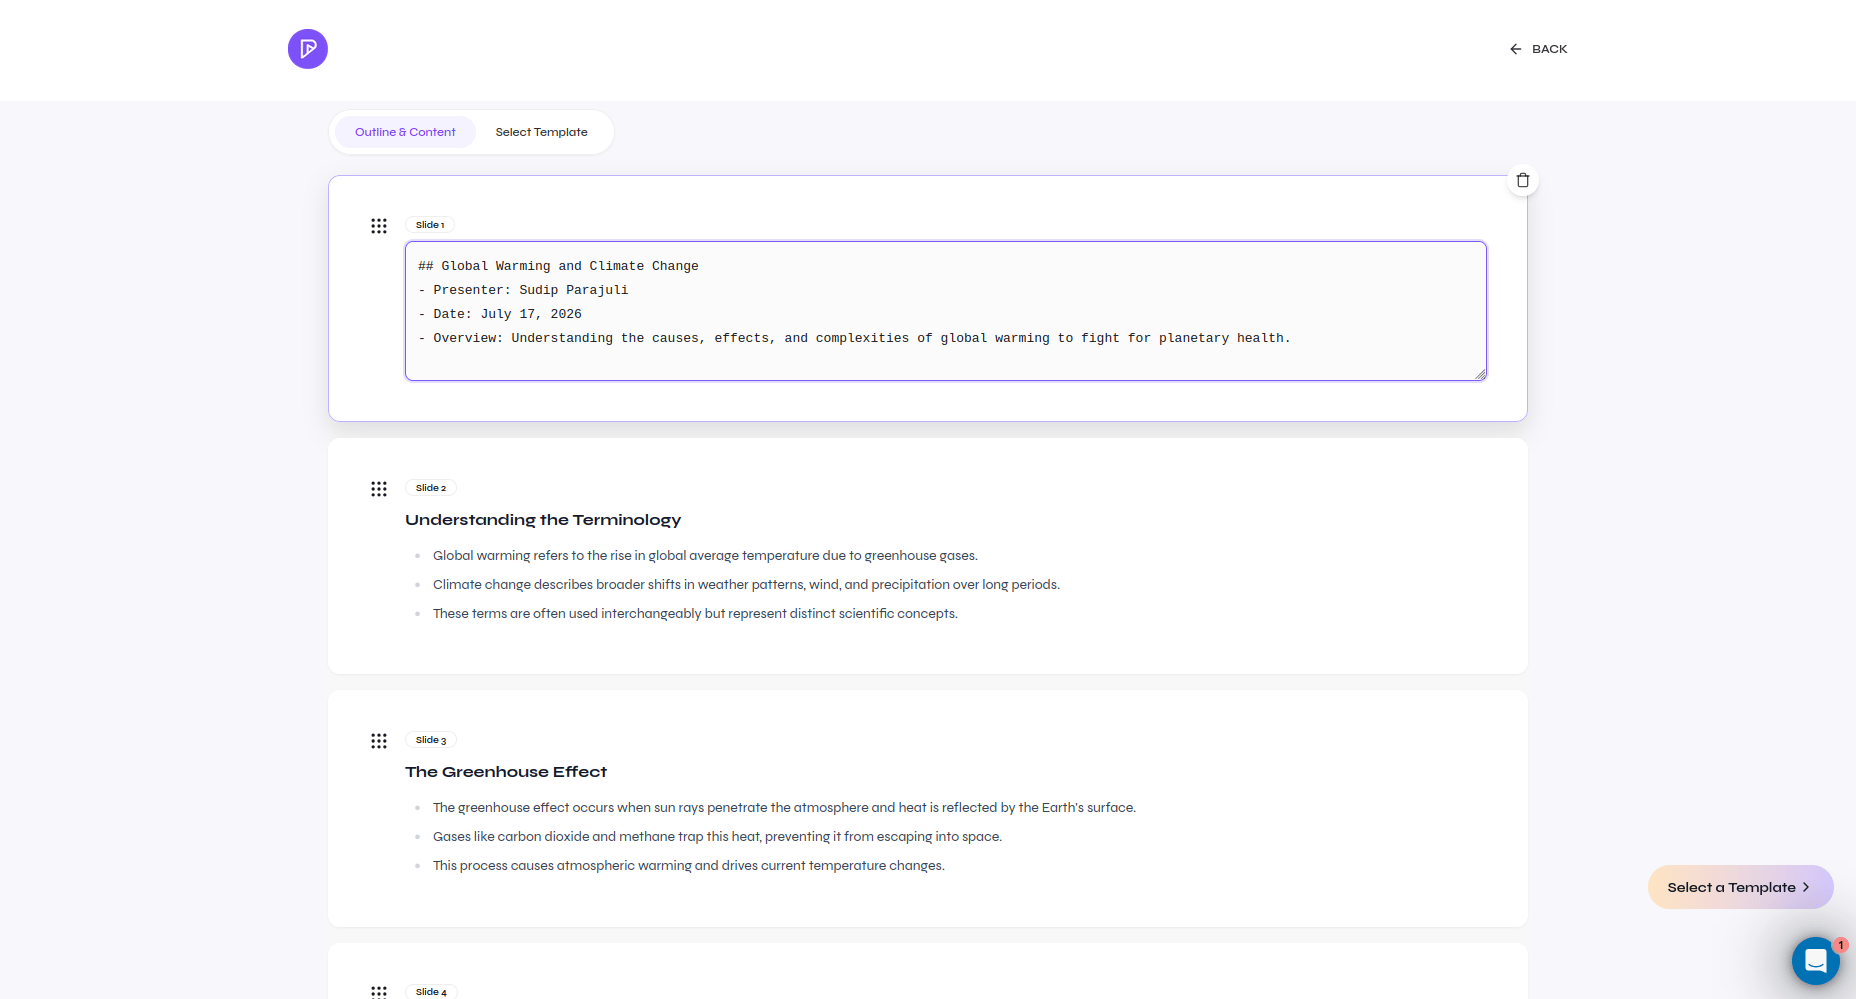
Read the outline from beginning to end before generating the slides. Every outline block is editable: revise the content, drag sections into a new order, or delete sections you do not need.
Review and edit the generated outline before choosing a template
5
Choose a template
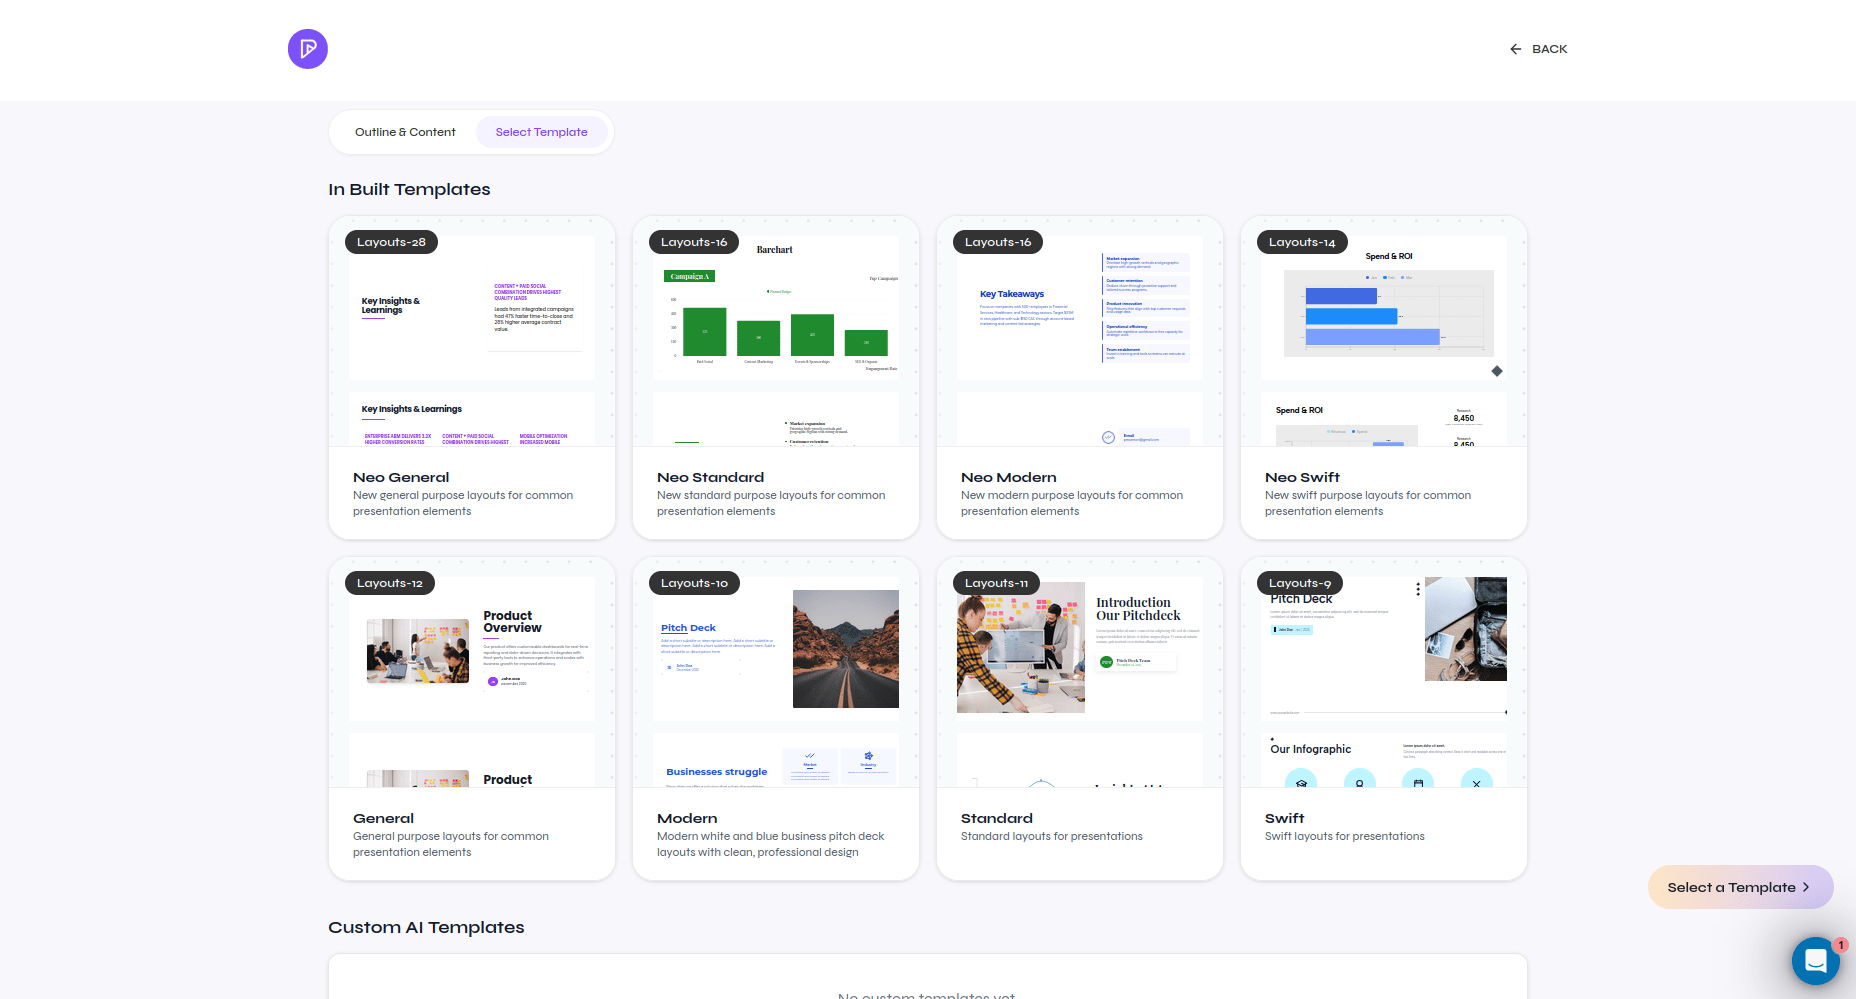
Open Select Template, choose from the built-in templates or one of your custom templates, and select Select a Template to continue. Pick a design that fits your audience and content.
Choose from built-in or custom presentation templates
6
Generate the presentation
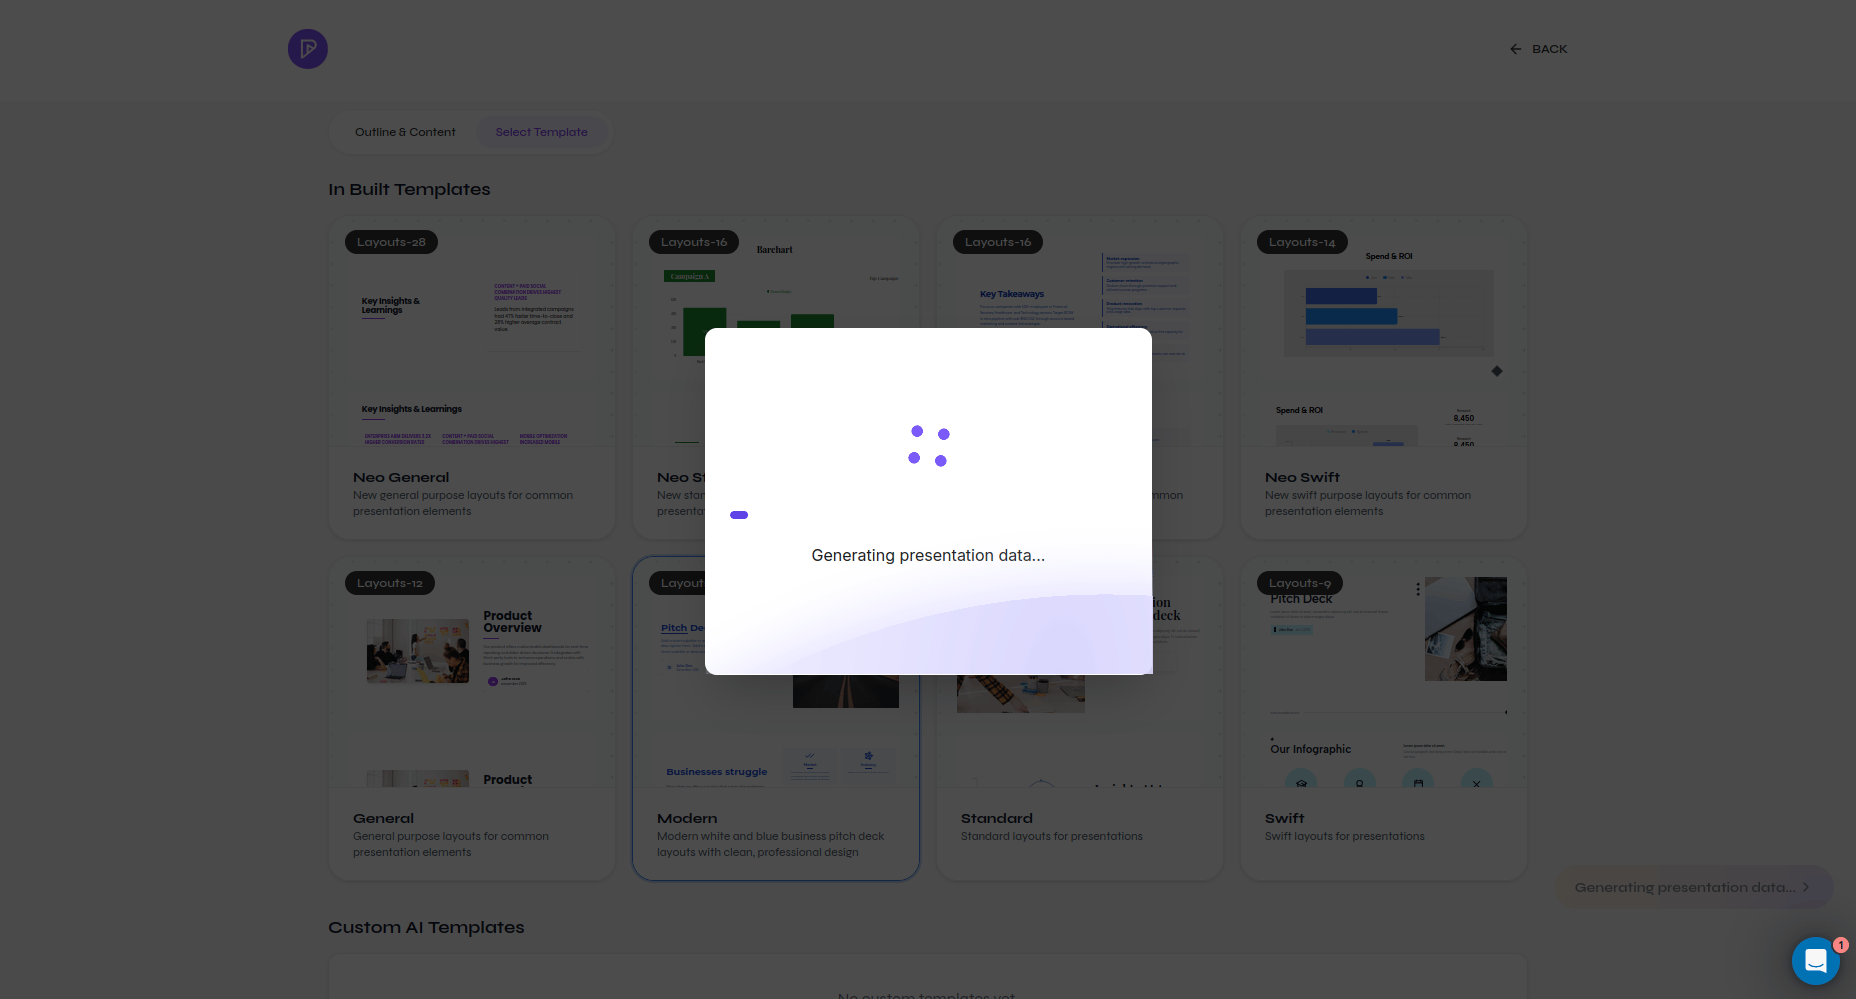
After selecting a template, wait while Presenton creates the slide content and applies it to the chosen layouts.
Presenton applying the selected template and generating the presentation
7
Review the generated deck
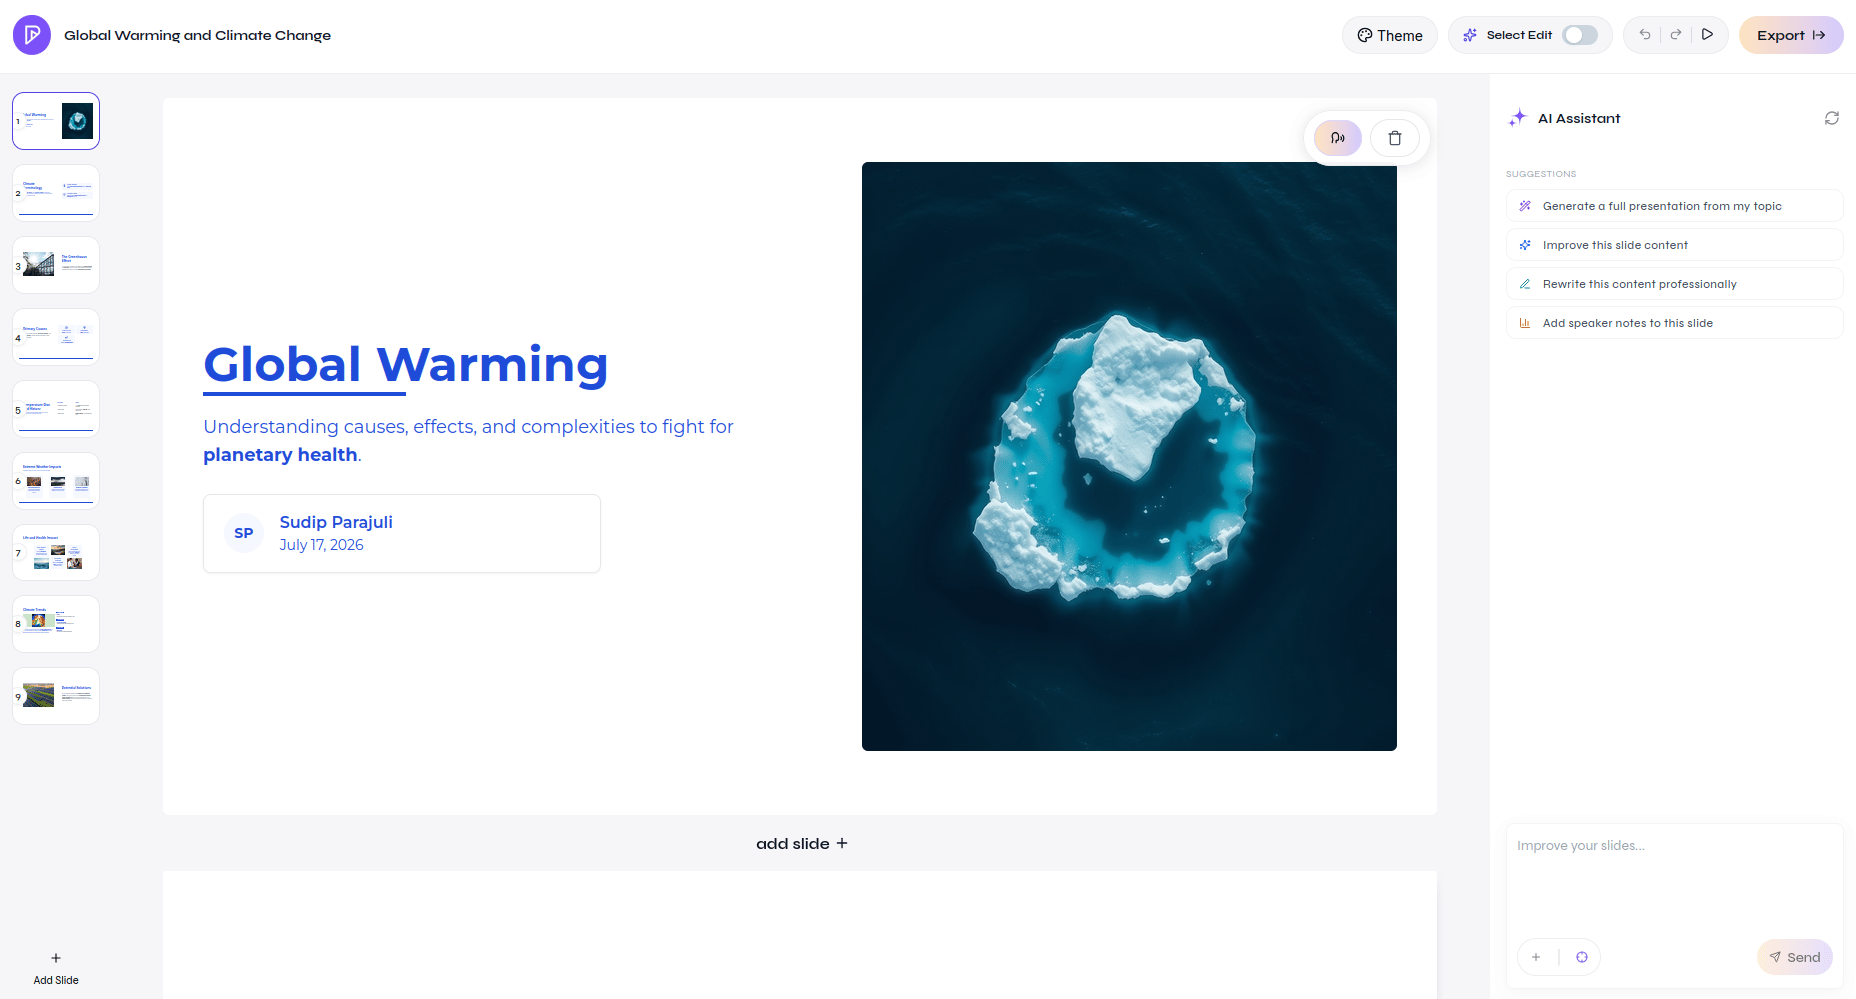
The finished deck opens in the editor. Use the thumbnails on the left to inspect every slide. Check the facts, slide order, text density, visuals, and conclusion before editing.
A generated presentation opened in the editor
8
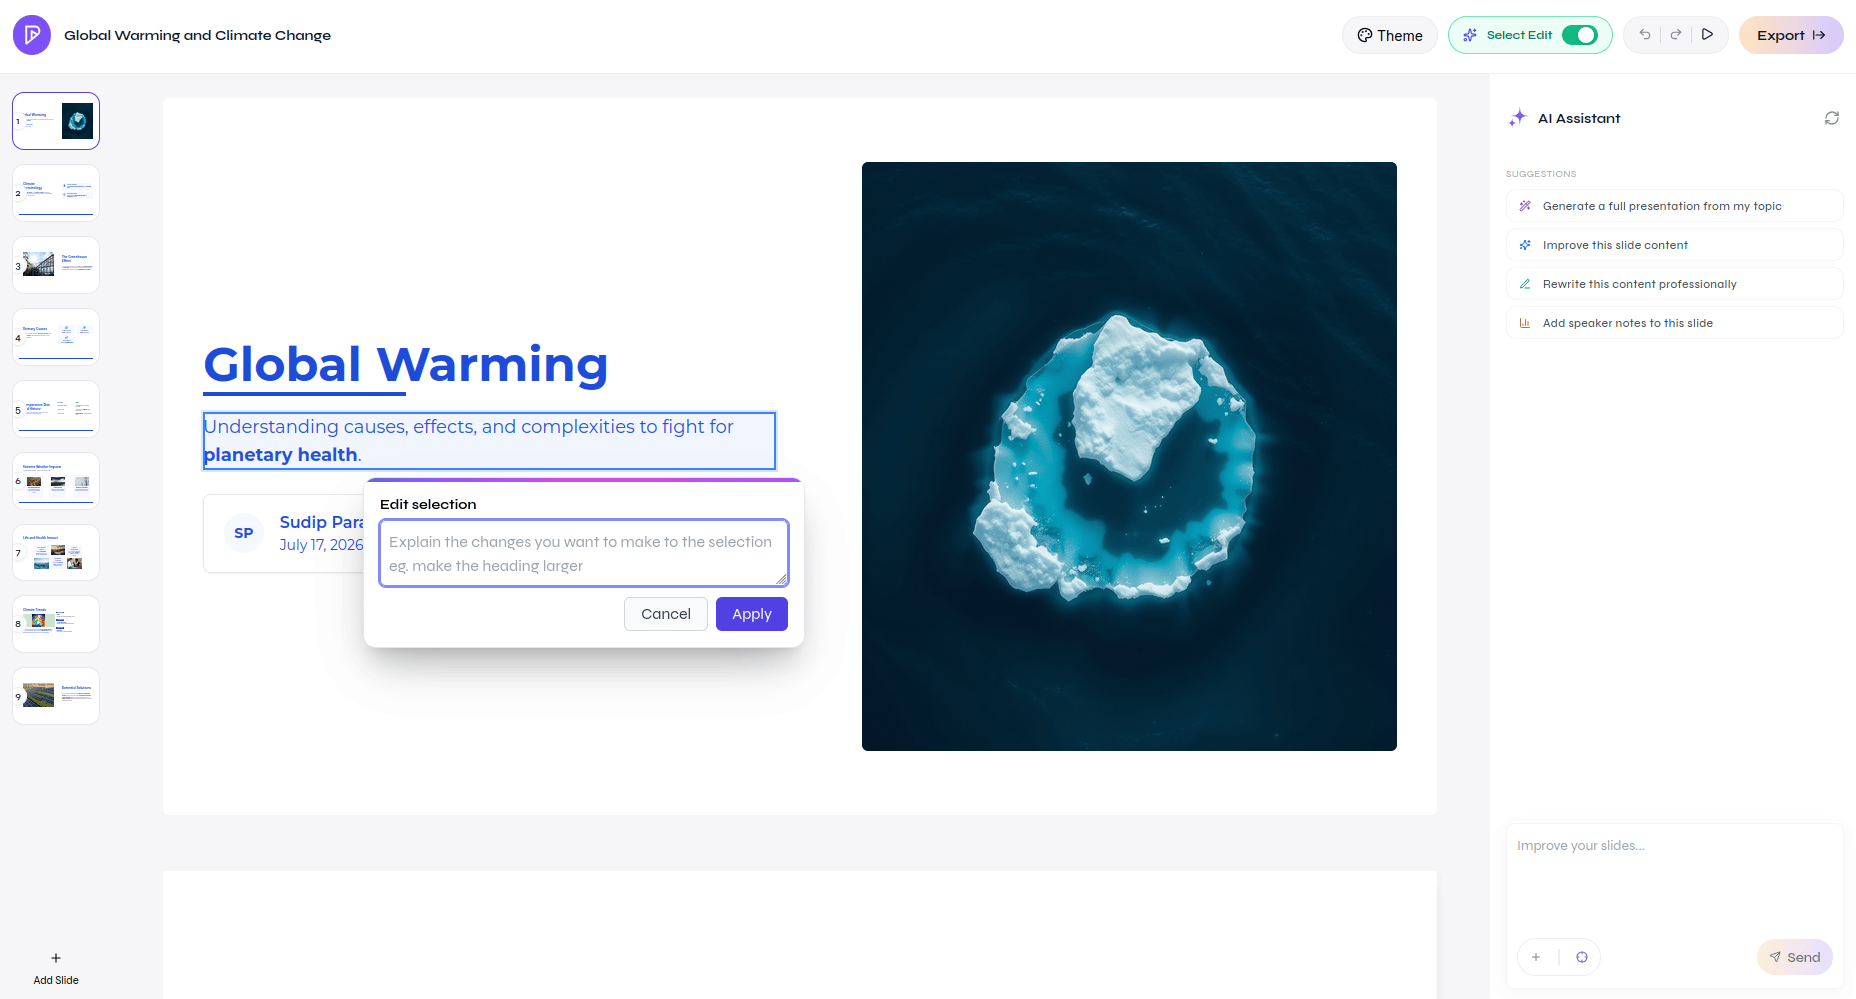
Enable Select Edit for a targeted change
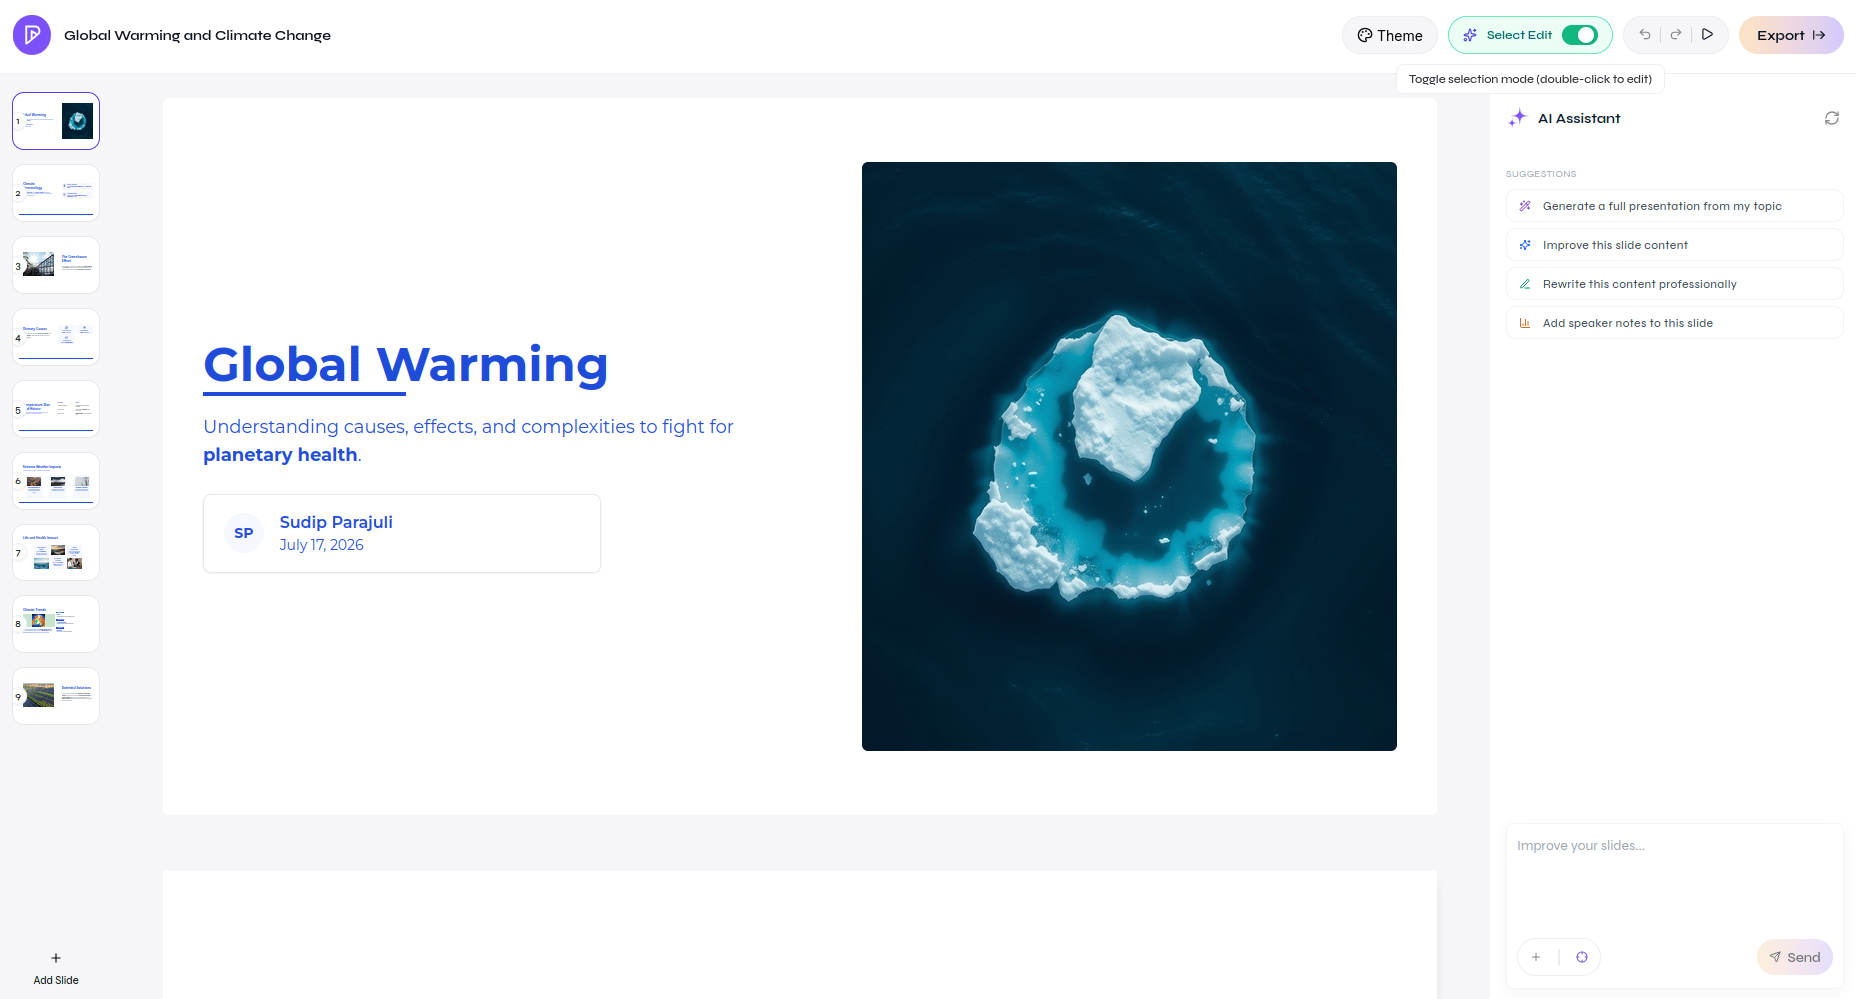
If a specific element needs improvement, turn on Select Edit in the top toolbar. Use this mode for targeted changes to text, images, or other slide elements. For broader changes, use the AI Assistant instead.
Turn on Select Edit to target an individual slide element
9
Edit an element with AI
Double-click the element you want to change, describe the desired result in Edit selection, and select Apply. Keep the instruction focused so unrelated content remains unchanged.For example:
Make this description shorter and easier to scan. Keep the meaning unchanged.
Describe the change to apply to the selected element
10
Use the AI Assistant for larger changes
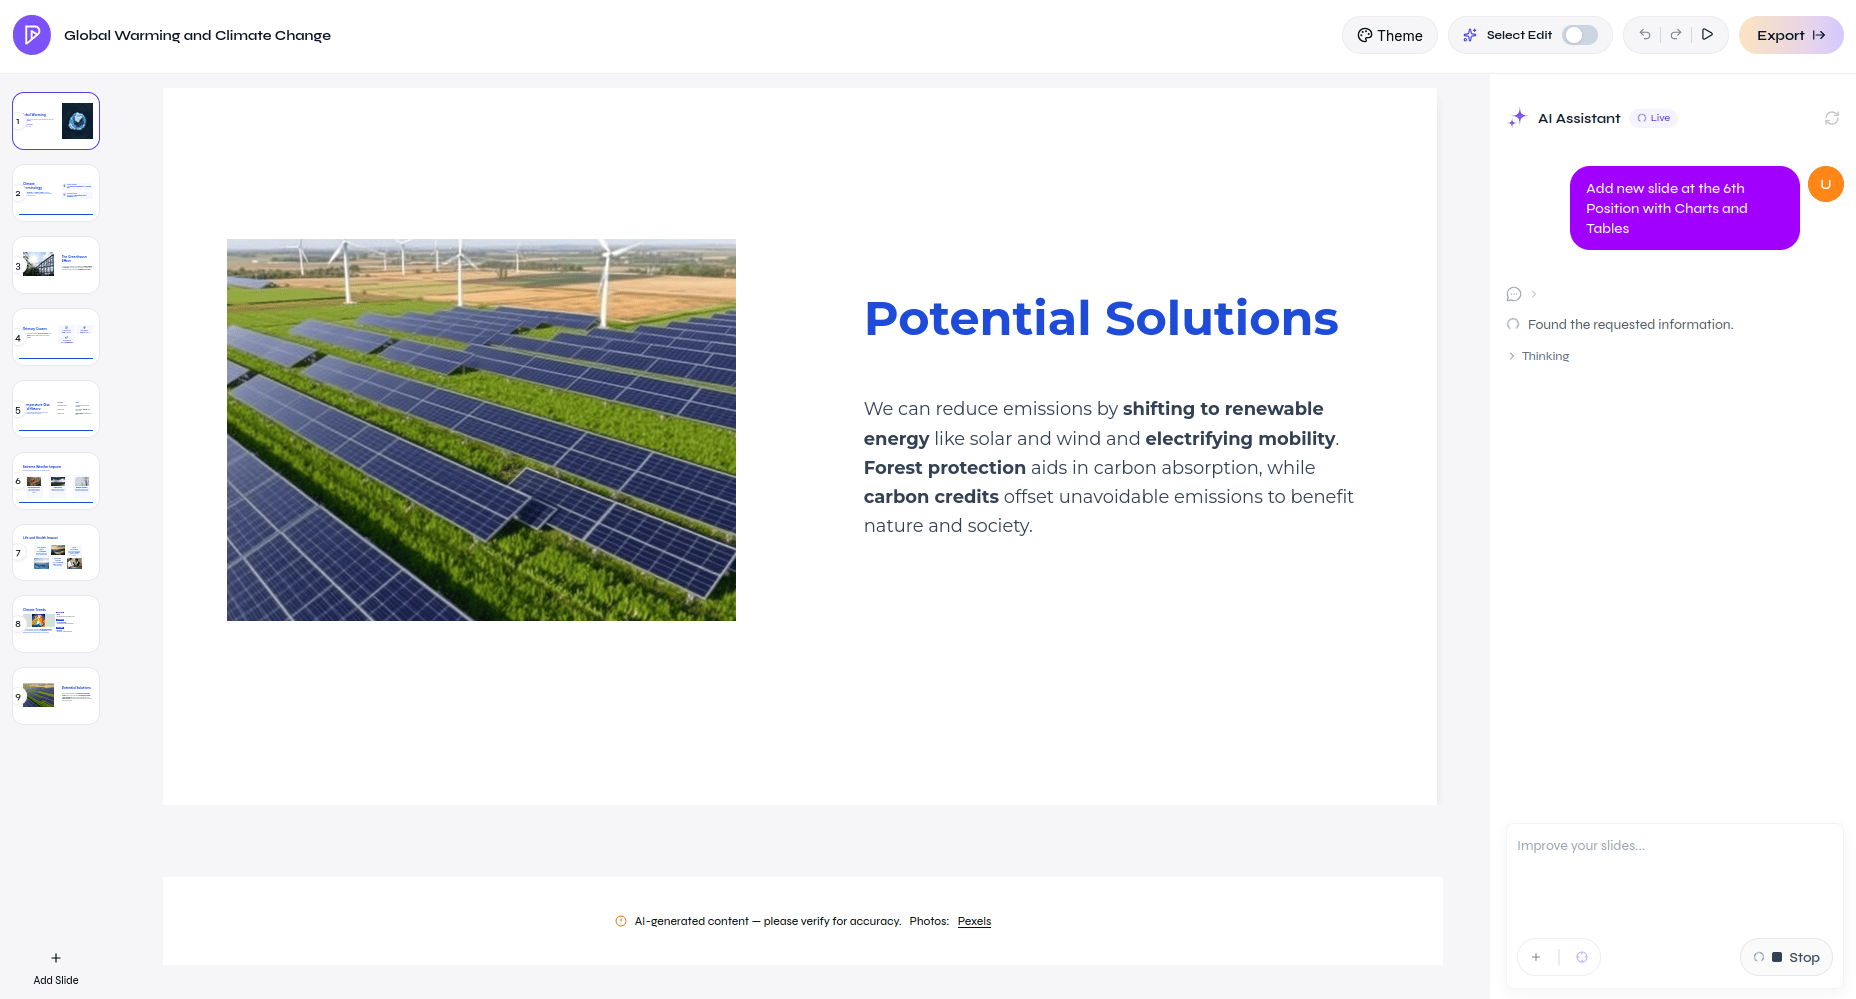
Use the AI Assistant when the deck is missing content or needs a structural change. Describe what to add and where it should appear.For example:
Add two new slides with charts and tables after slide 5.
Ask the AI Assistant to add content or restructure the deck
11
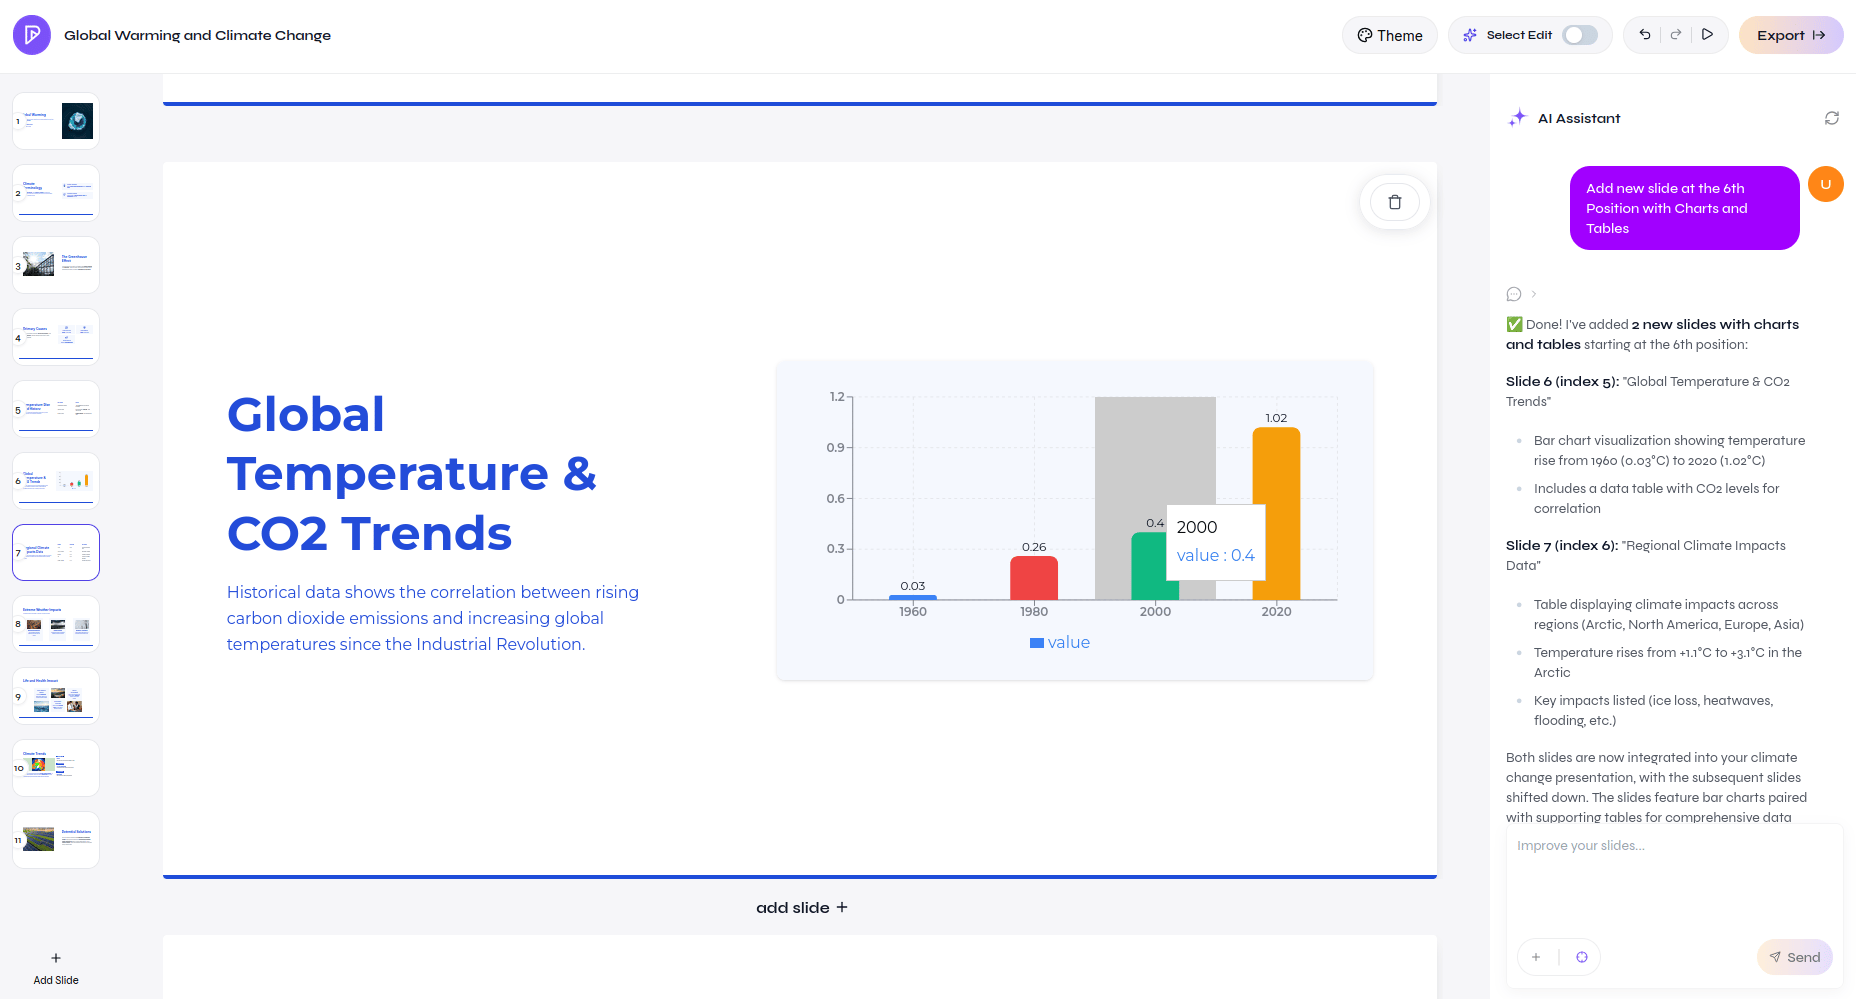
Review the AI Assistant changes
Wait for the assistant to finish, then inspect every new or changed slide. Confirm that the slides appear in the requested position and that the template structure remains consistent. Verify all AI-generated facts, chart values, and table data before sharing the deck.
New chart and table slides added without changing the surrounding template structure
12
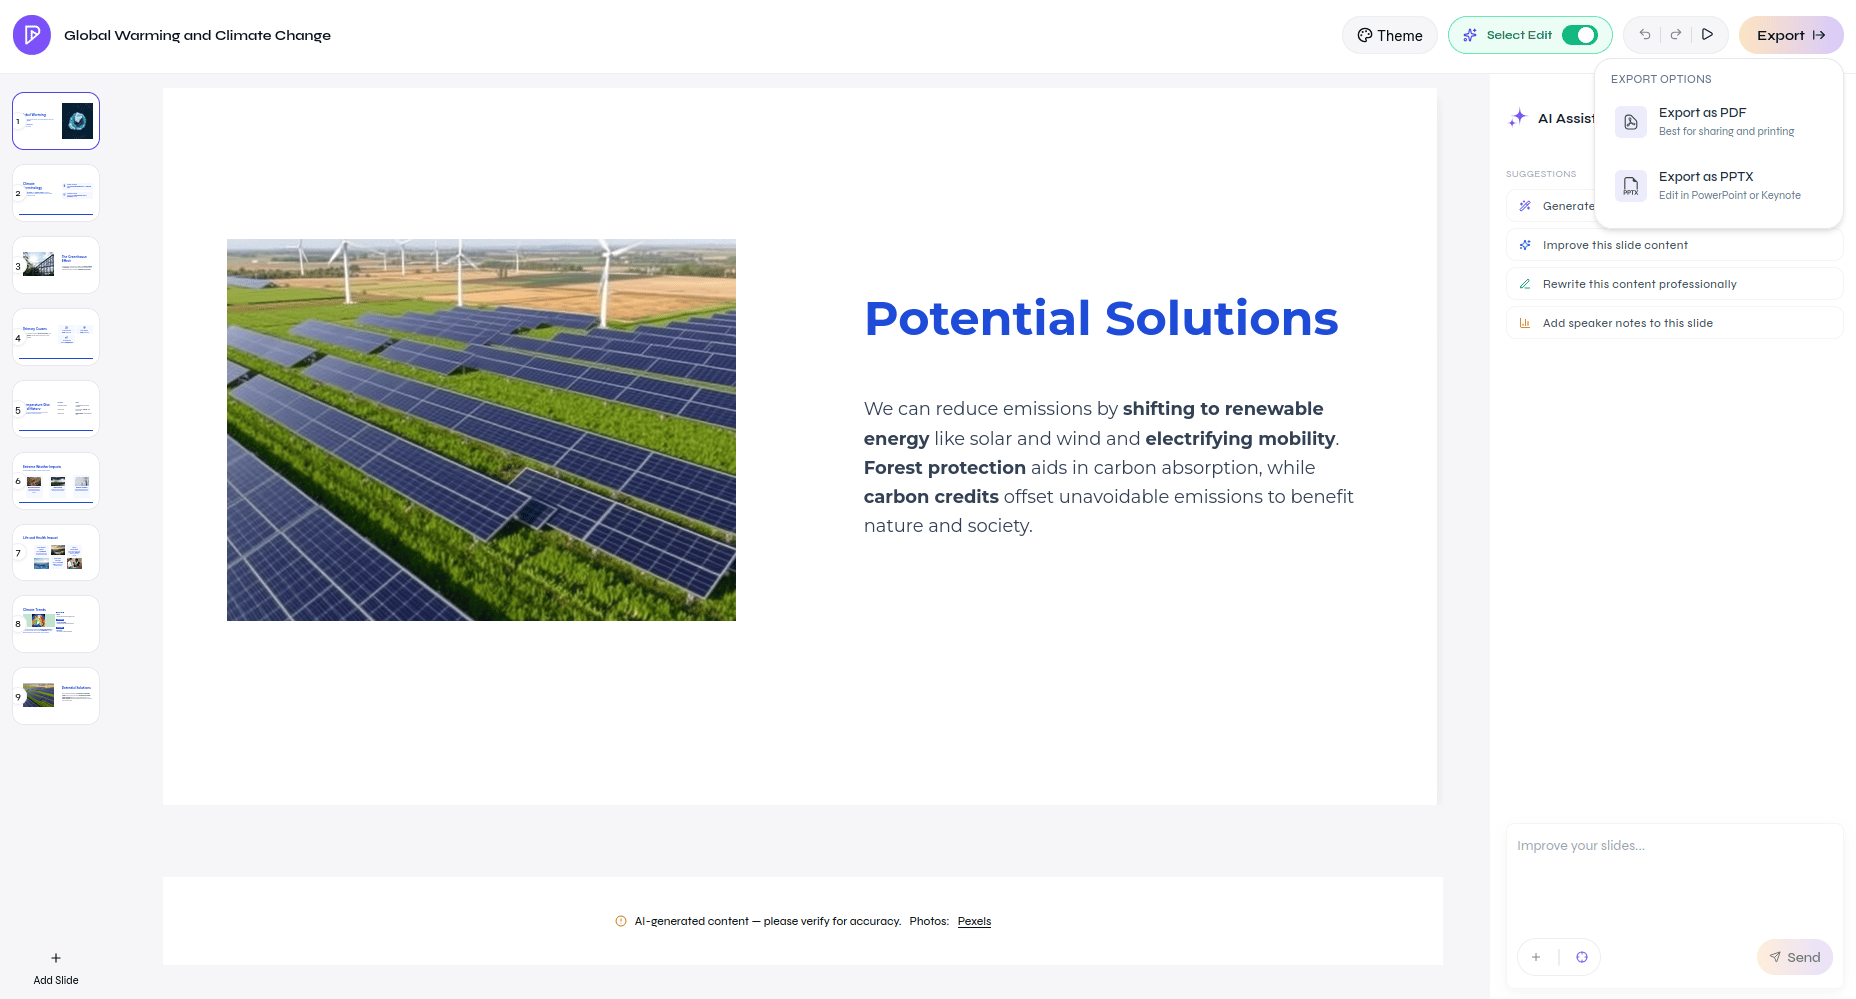
Export the presentation
Select Export, then choose Export as PDF for sharing and printing or Export as PPTX for continued editing in PowerPoint or Keynote. Open the exported file once to confirm the final result.
Export the finished presentation as PDF or PPTX
You now have a reviewed, editable presentation in the dashboard and a downloaded copy in your chosen format.