

How Standard mode works
In Standard mode, Presenton processes your source PPTX slide by slide.- Each filled source slide is converted into a reusable slide layout.
- AI identifies text, images, icons, and other editable regions on the slide.
- Presenton creates an internal schema for each layout so future presentations can keep the same design while replacing the content.
Before you start
- Prepare a
.pptxfile that contains representative slides for the layouts you want to reuse. - Include real content in those slides instead of blank placeholders.
- Make sure the deck includes the visual variety you want the template to support, such as title slides, section slides, image slides, charts, or closing slides.
- Keep the source file under the upload limits shown in Template Studio.
Create a template in Standard mode
Open Standard mode
1
Open the dashboard and go to Standard mode
From the main dashboard, open the left navigation and select Standard.
2
Open the template area inside Standard mode
In the Standard menu, select All Templates.
3
Start a new custom template
On the templates page, click Create New Template.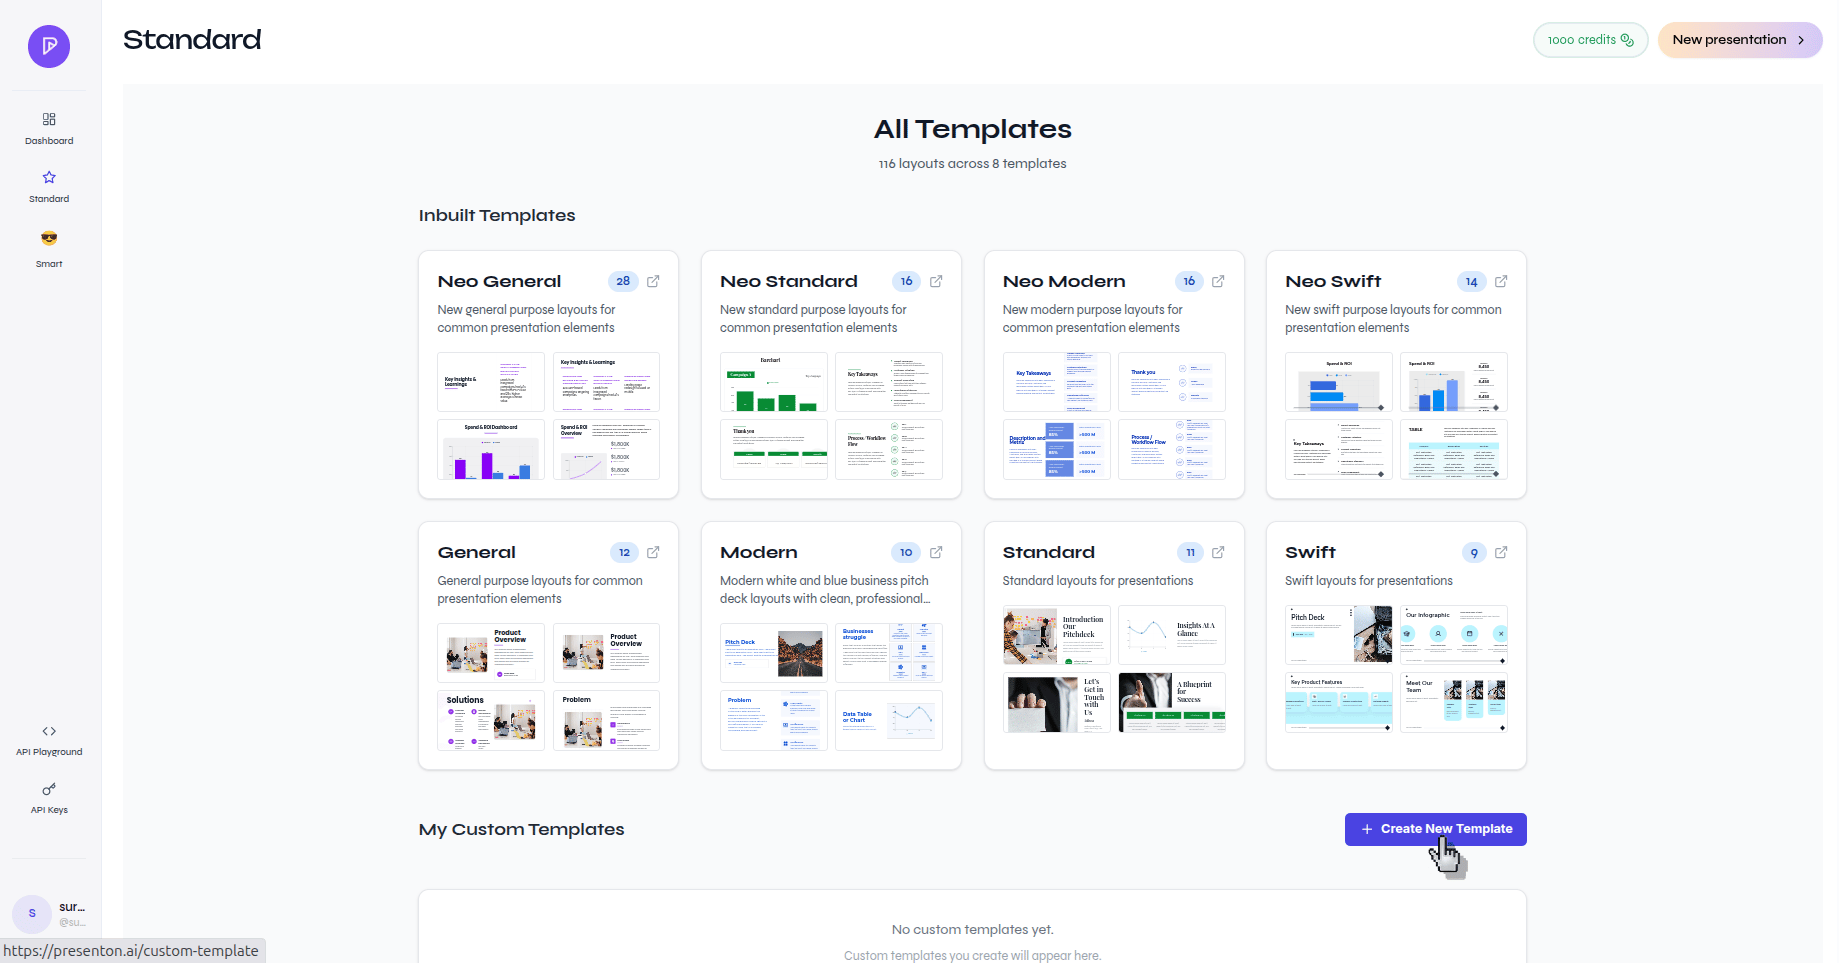
Upload the PPTX and resolve fonts
1
Upload the source PPTX in Template Studio
In Template Studio, upload the PowerPoint file you want to convert into a template.
2
Confirm the selected file and start font detection
After the file is attached, click Check Fonts.
3
Upload any missing fonts
Review the Font Management screen. If a font is missing, upload the font file so the slides render correctly.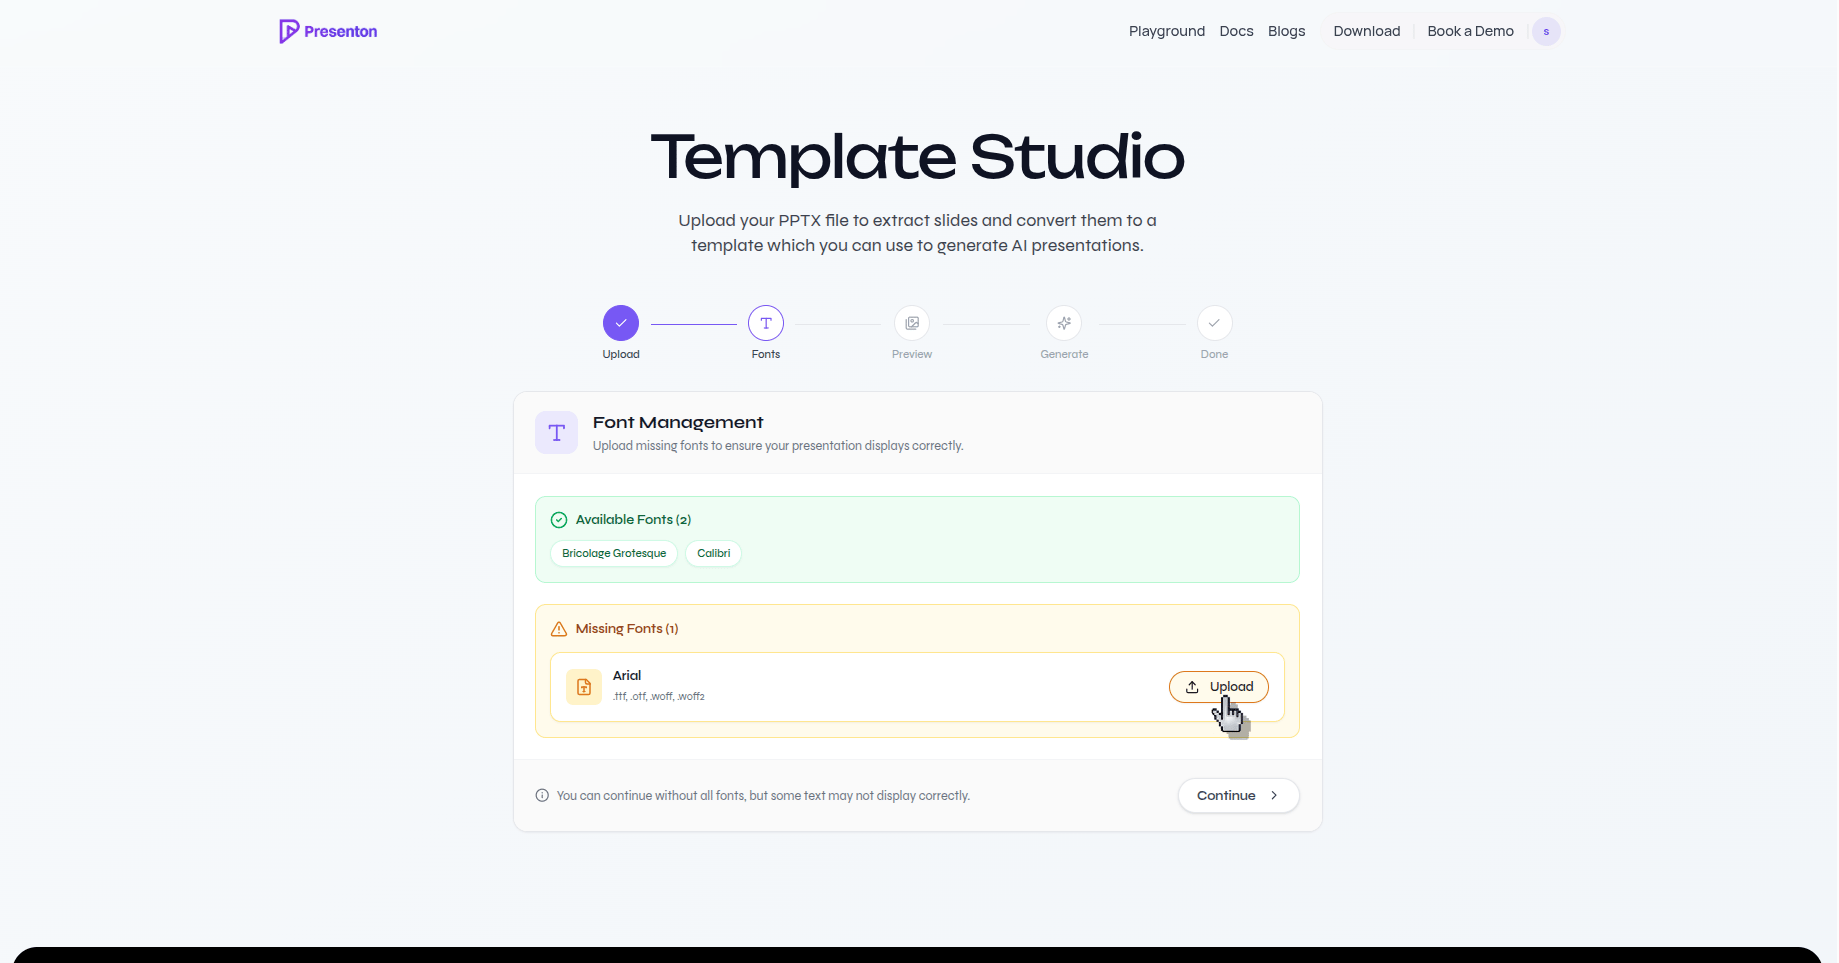
4
Continue once all required fonts are ready
When the fonts are available, click Continue to Preview.
Presenton reads the fonts declared in the PPTX first. If a font can be found publicly, it is loaded automatically. If not, you are prompted to upload the missing font yourself. You can continue without every font, but the preview and generated layouts may not match the source deck accurately.
Preview the converted slides
1
Review how the slide looks after font loading
In Slide Preview, check whether the slide still looks correct after the fonts have been applied. Pay close attention to text spacing, wrapping, and alignment.
Generate layouts from the source slides
1
Generate the template layouts
When the preview looks correct, click Generate Template. Presenton converts the PPTX slides into reusable layouts one by one.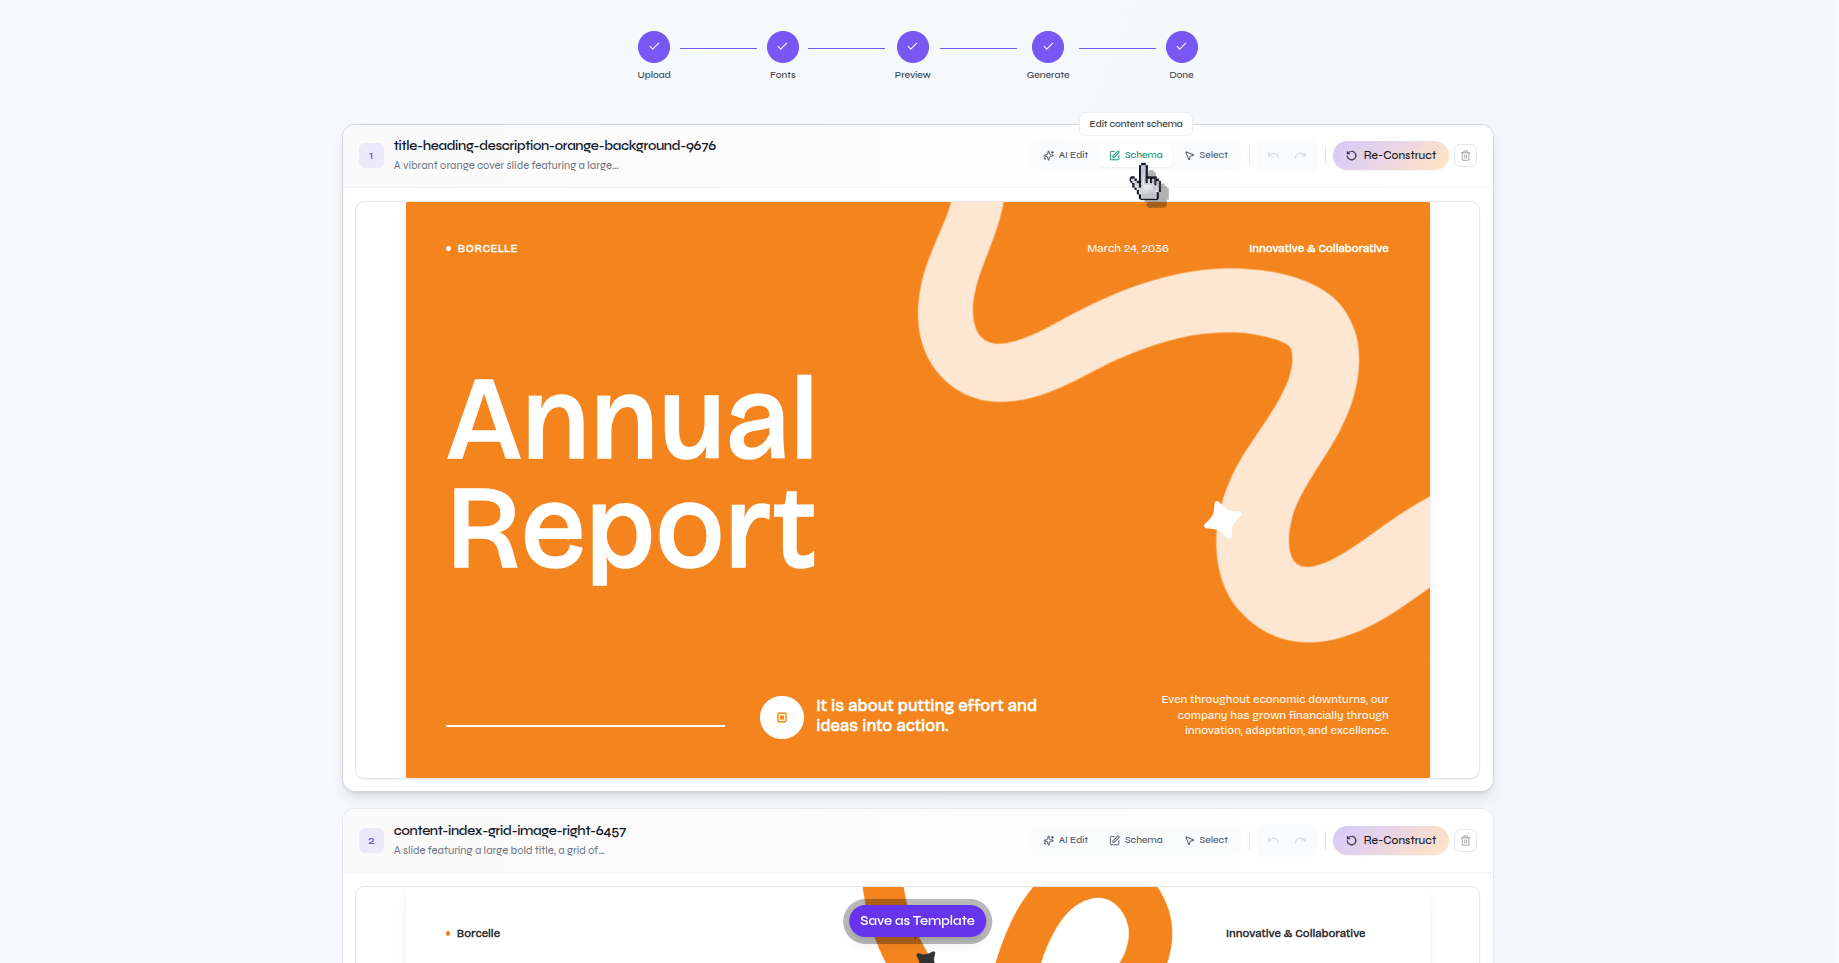
Each source slide becomes its own template layout. That is why the source PPTX should contain filled examples of every layout type you want to support later.
Review the schema for each layout
1
Open the schema for a generated layout
On a generated layout, click Schema to inspect the fields Presenton detected on that slide.
2
Adjust character limits for the detected fields
Review the min and max character limits for each field, then update them where needed so future generated content fits the layout more reliably.
The schema is the contract Presenton uses later when it fills this layout with new content. If the limits are too tight, generated content may become unnaturally short. If they are too loose, text can overflow or weaken the design.
Fix layout issues and stress-test the result
1
Enter selection edit mode for a layout
If a generated layout needs correction, click Select so you can edit individual elements on the slide.
2
Prompt AI to change a selected element
Click the element you want to change, describe the edit in the prompt, and apply it.
3
Review the updated layout after the edit
Confirm that the selected element changed in the way you intended.
4
Preview the layout with sample content density
In the schema editor, use Low, Medium, or High to fill the layout with arbitrary sample content and test how it behaves.
5
Check the rendered preview for overflow or imbalance
Review the generated sample content on the slide. If text overflows, important areas feel too sparse, or the composition breaks, adjust the schema or edit the layout again.
Save the template
1
Start saving the finished template
Once the layouts look correct, click Save as Template.
2
Name the template and confirm the save
Enter a template name, add an optional description, and click Save Template.
Verify the result
Your custom template is saved and can be selected later when you generate a new presentation from templates.